I don’t know about you, but I absolutely love the combination of coconut and pineapple in the summertime. It’s so light and refreshing and brings good memories. As summer slowly comes to an end, I thought it would be time to get in as much “summer cupcakes” as I can. I’m actually surprised it took me so long to make these ones.

So let the fun begin!!!!
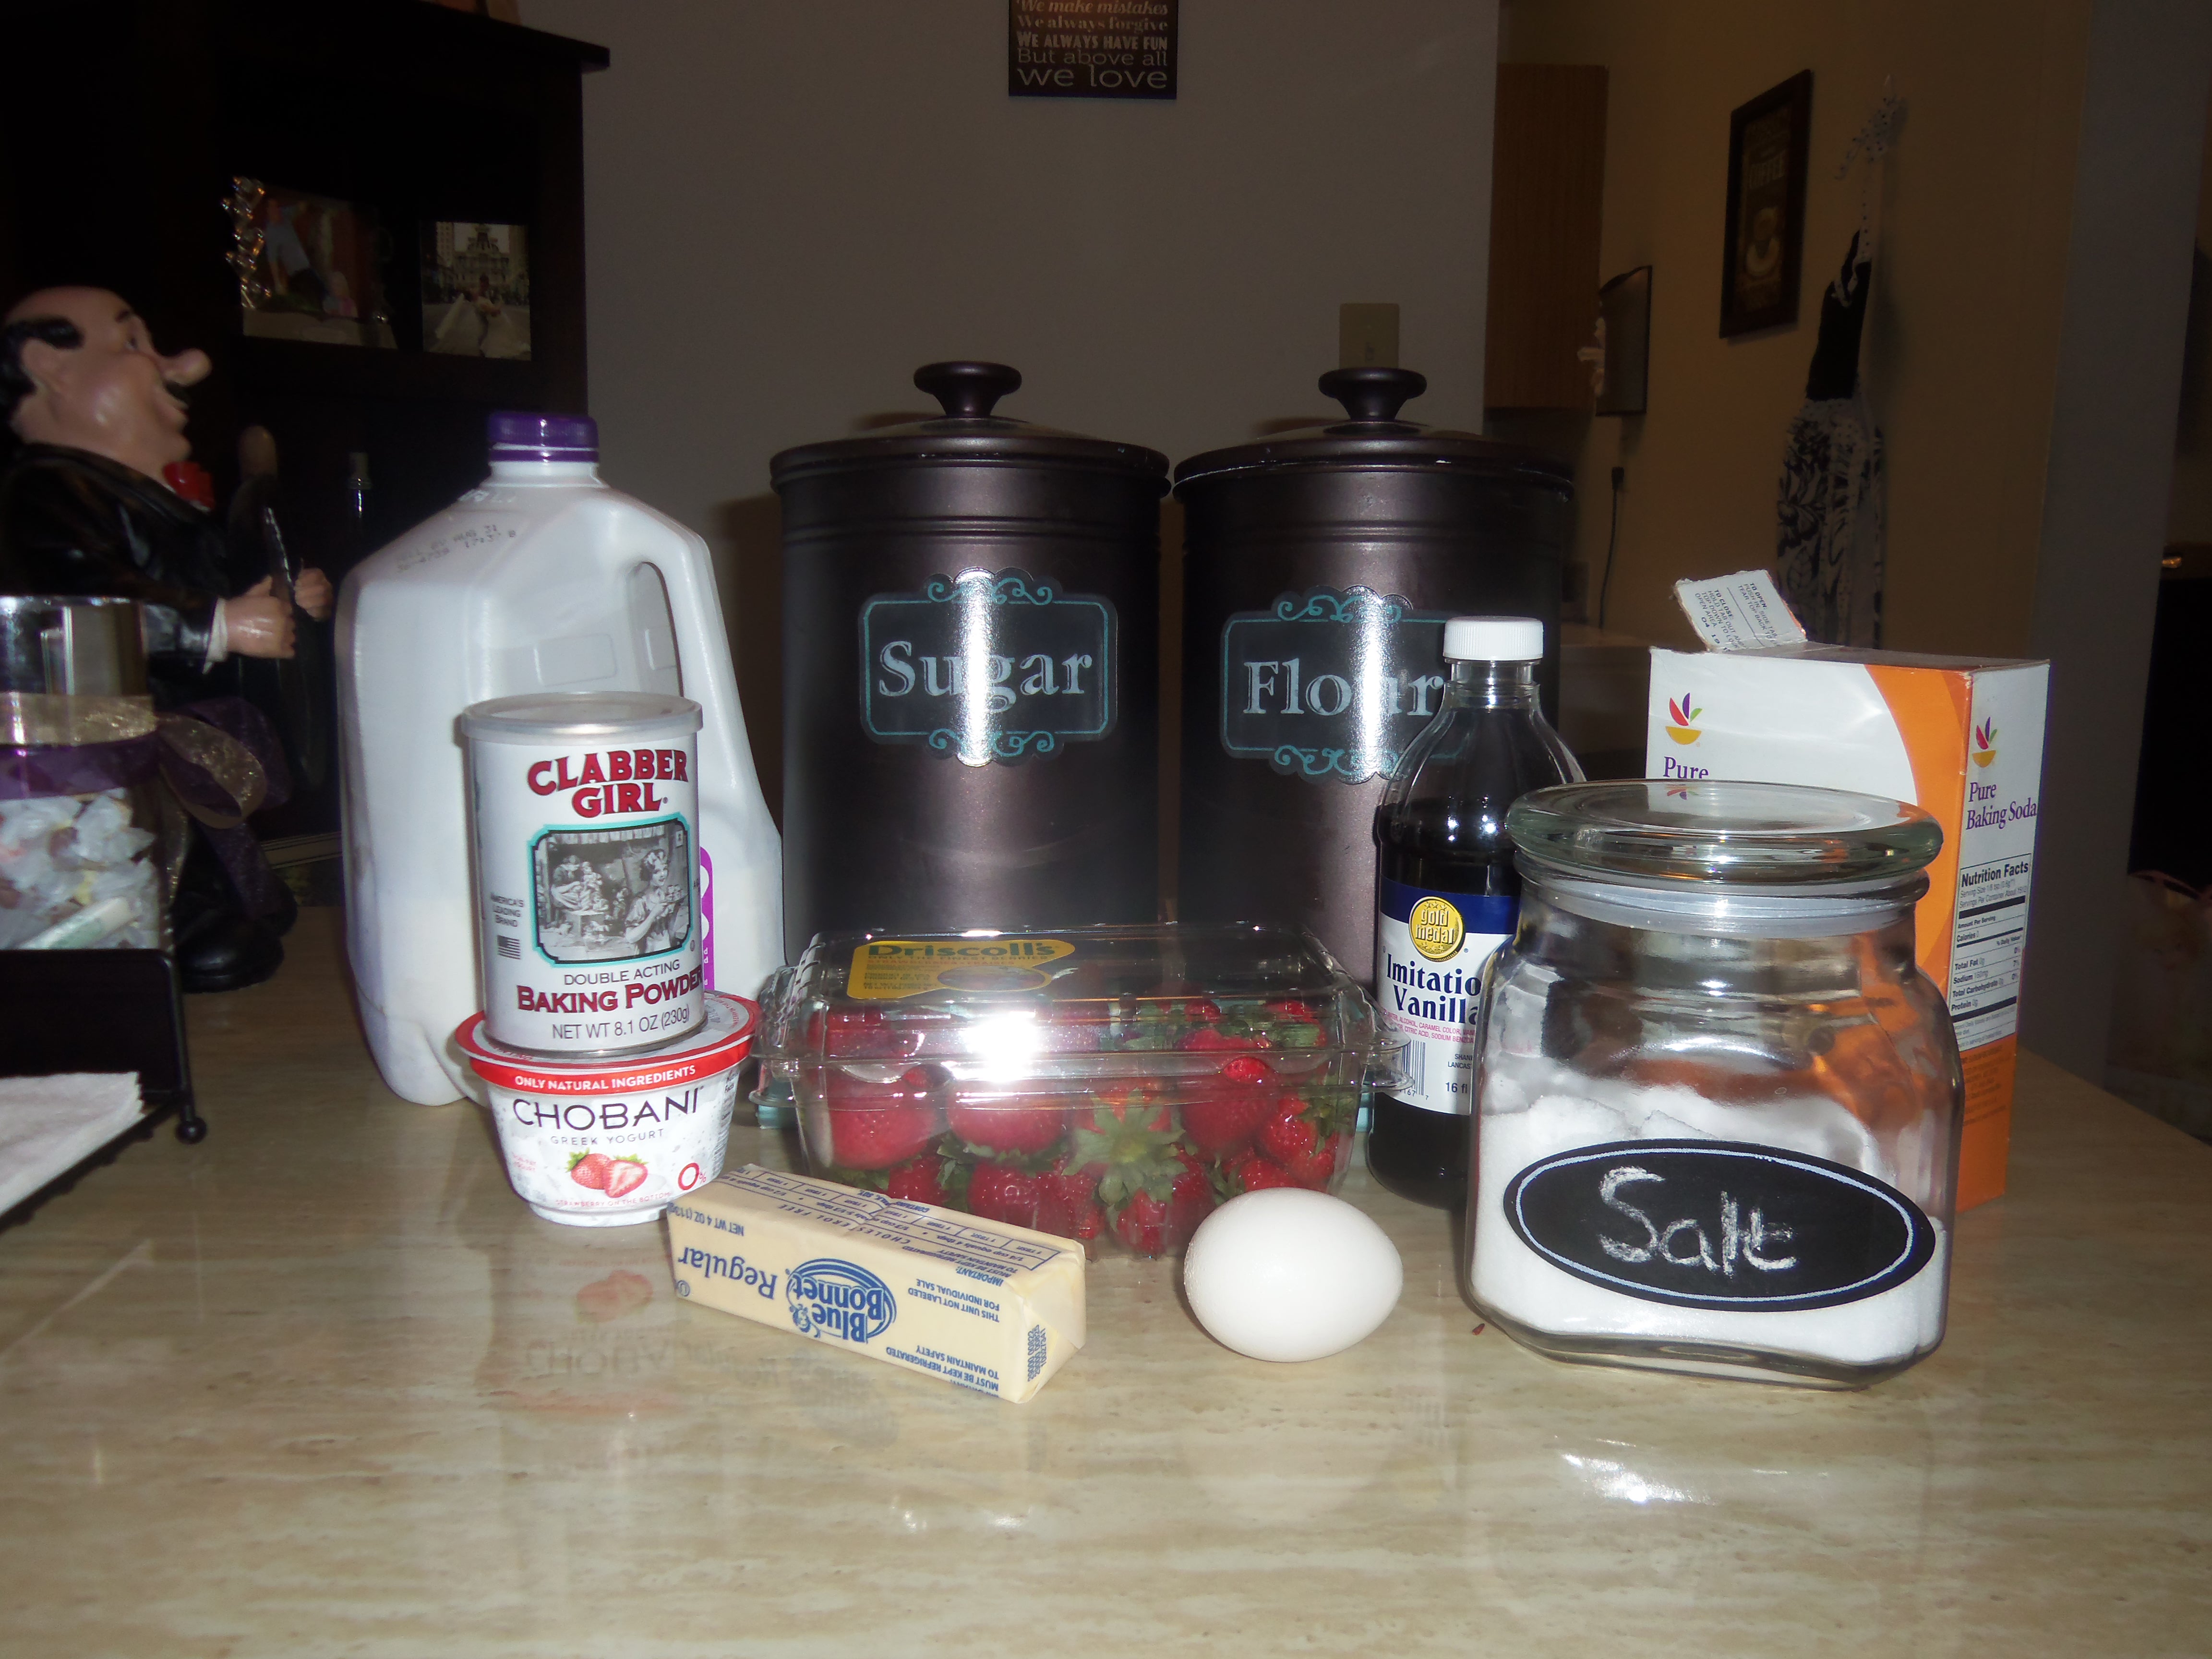
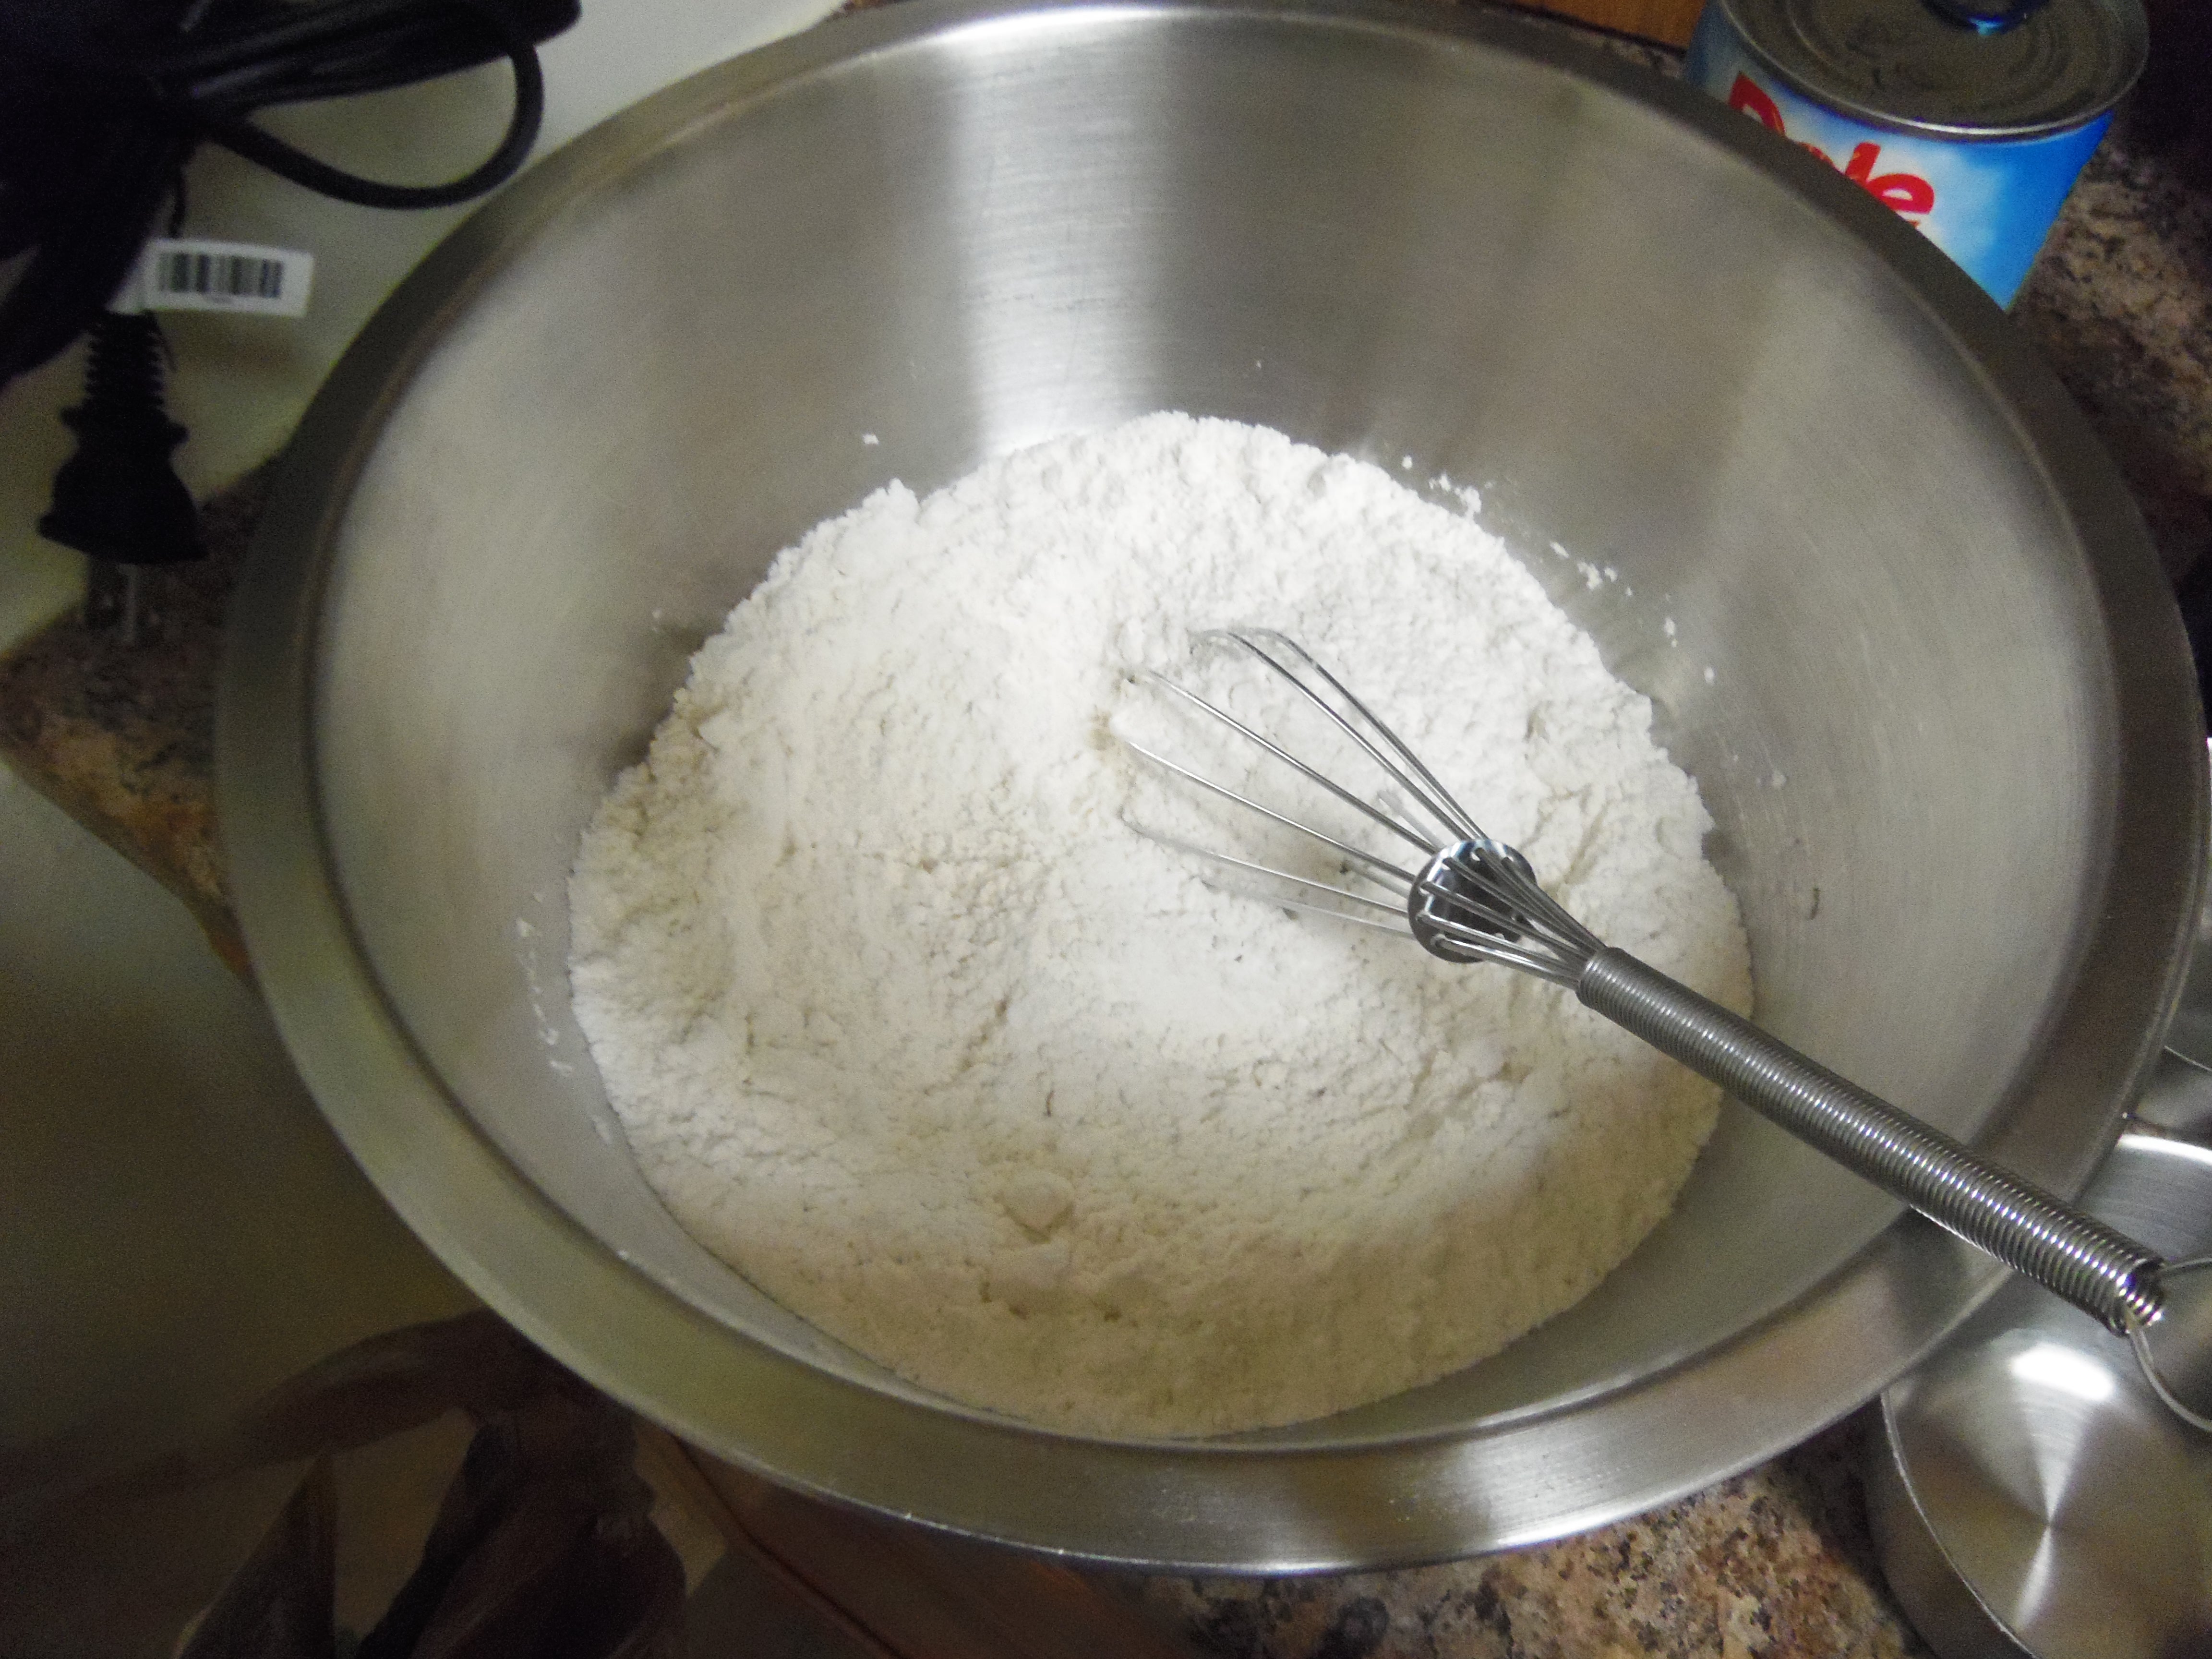
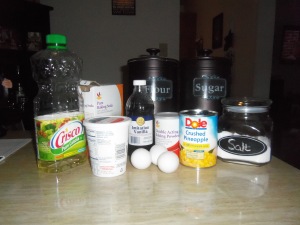
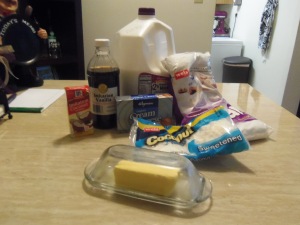
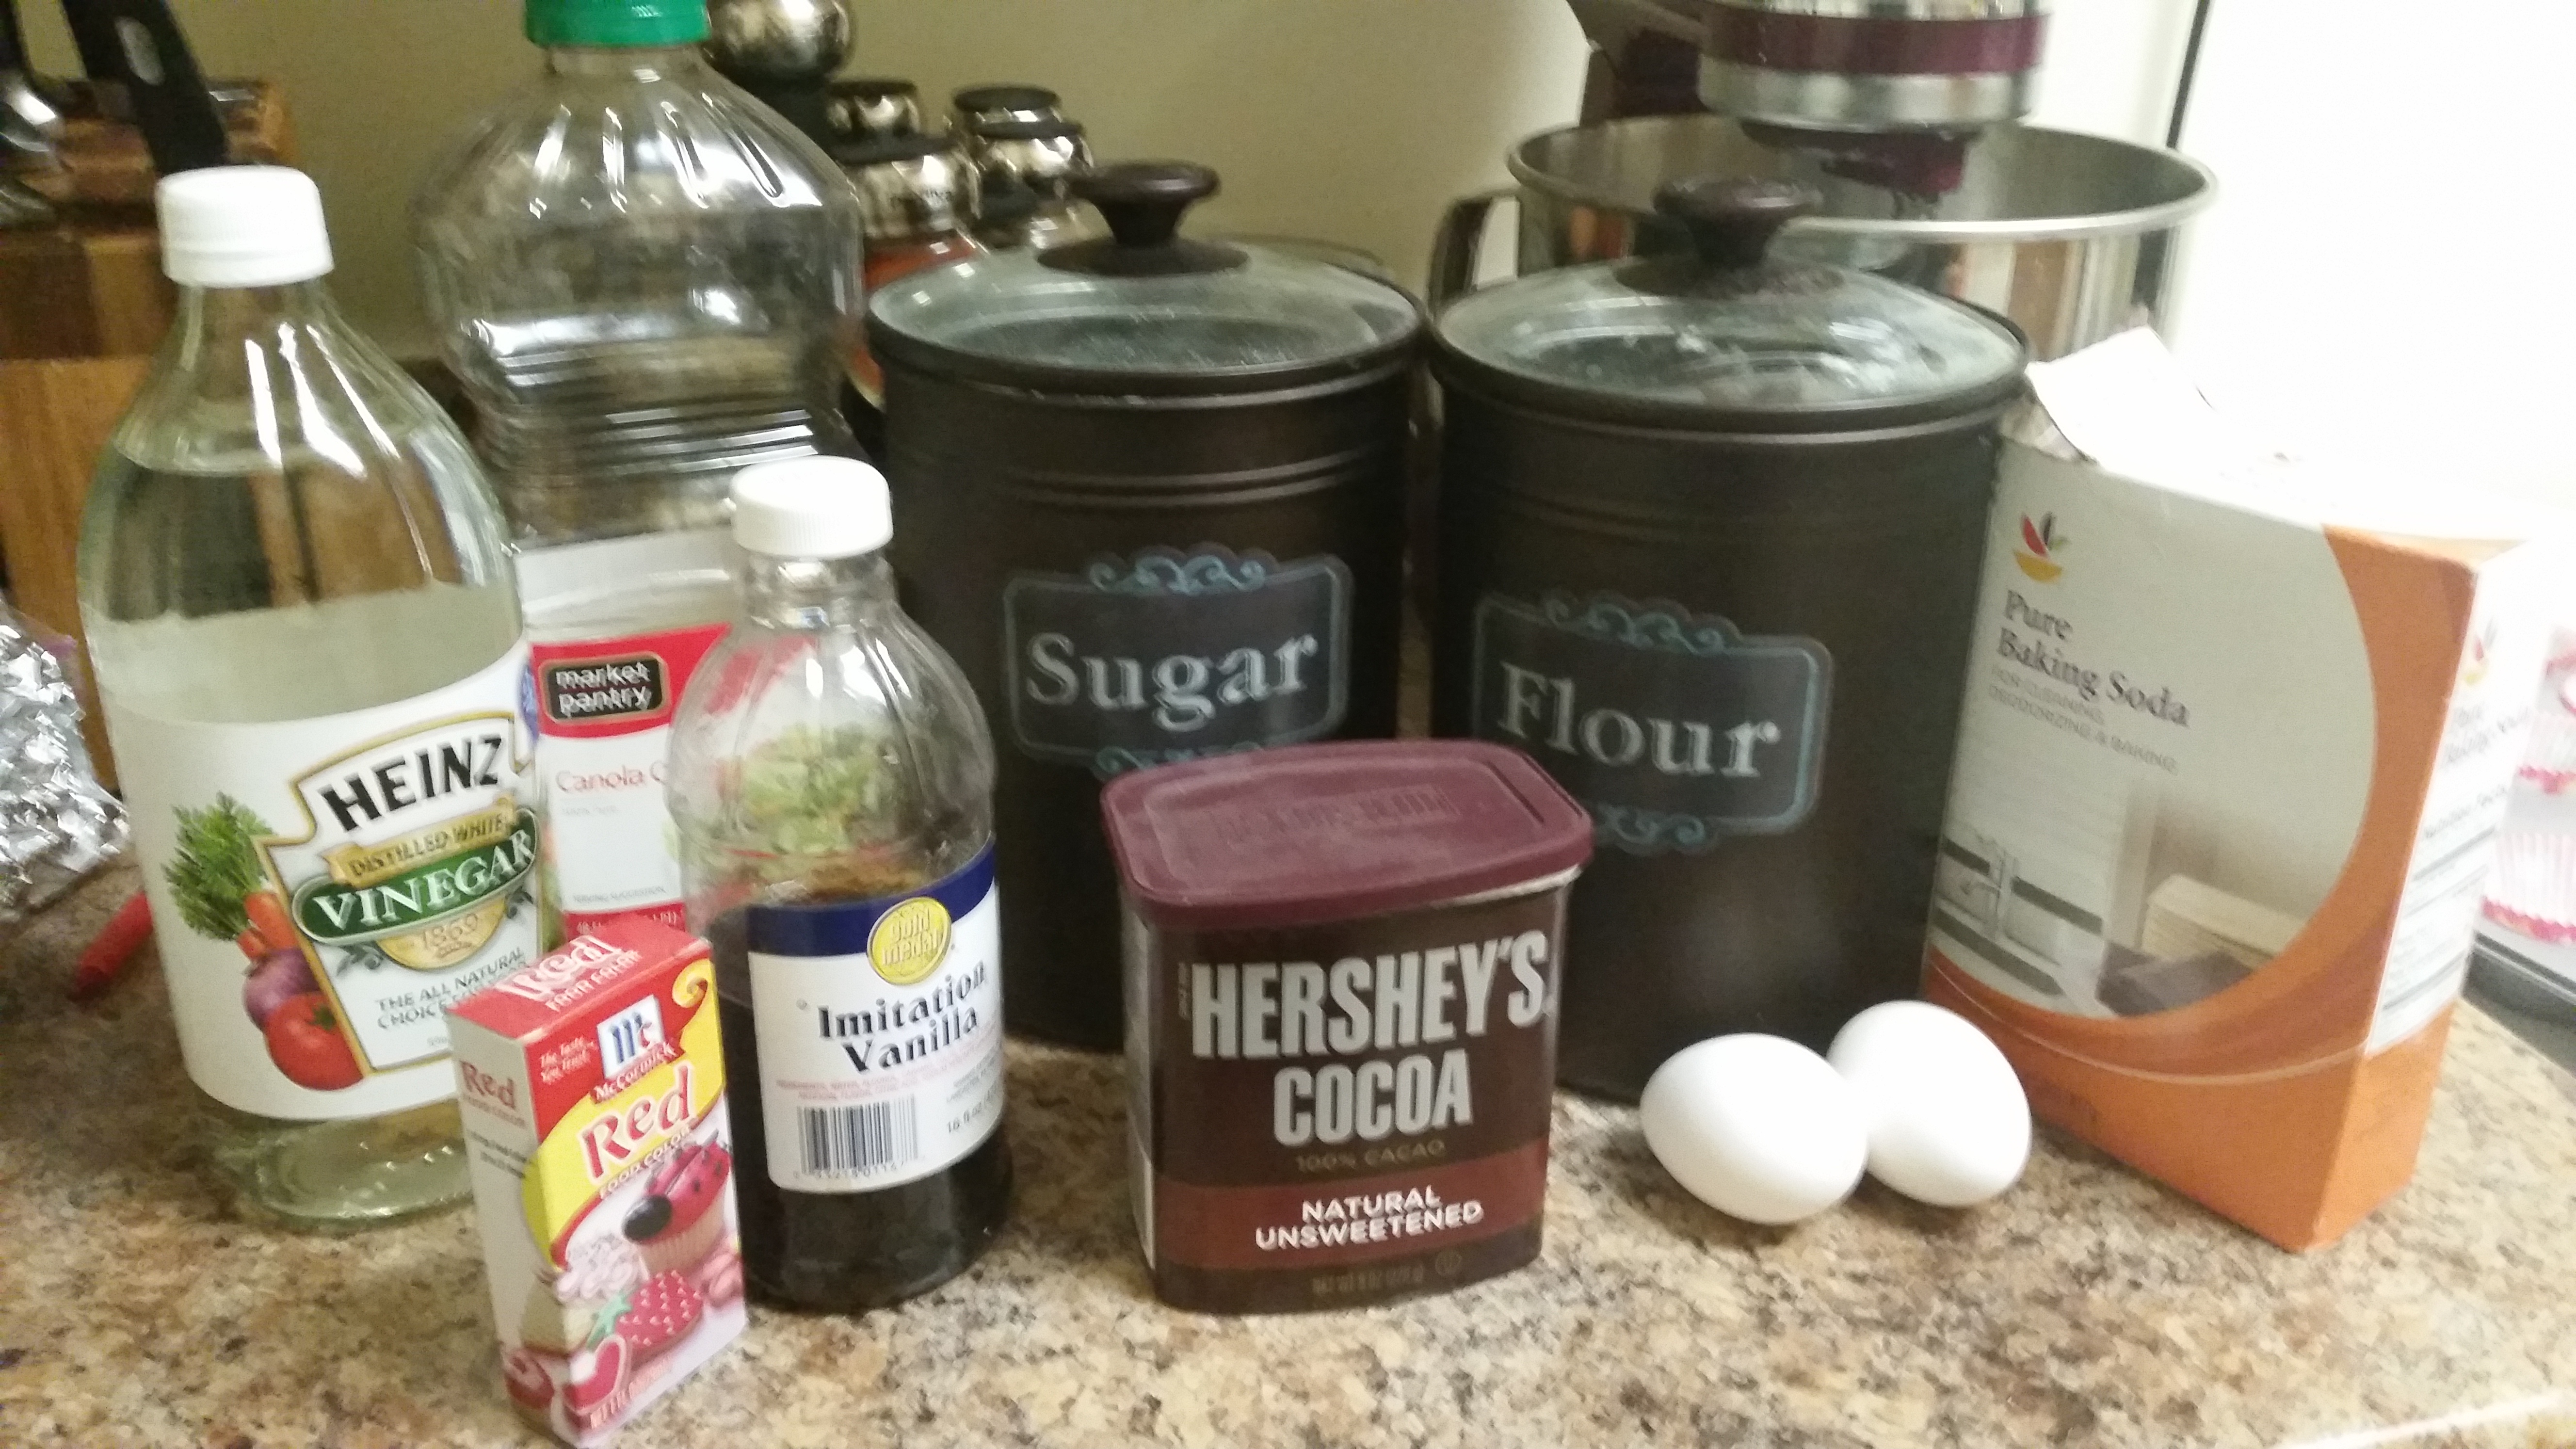
For the cupcakes you will need:
2 1/2 cups flour
1 1/2 teaspoons baking powder
1/2 teaspoon baking soda
1/2 teaspoon salt
3 eggs
1 3/4 cups sugar
1 cup vegetable oil
1 teaspoon vanilla extract
3/4 cup sour cream
1 1/2 cups canned crushed pineapple (drained slightly)
Directions-
1. Mix flour, baking powder, baking soda and salt in a medium bowl and set aside.

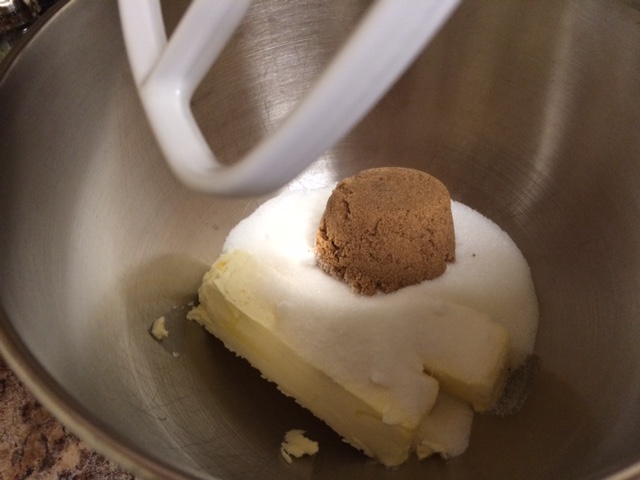
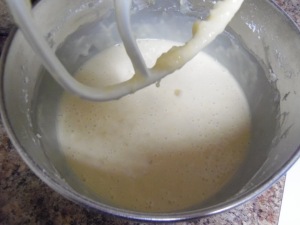
2. In a large bowl, using an electric mixer on medium speed, beat the eggs and sugar until slightly thickened and a light cream color (about 2 minutes).
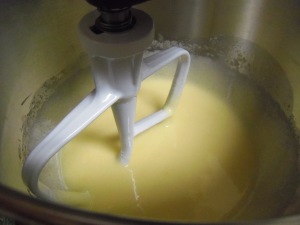
3. On low speed, mix in the oil and vanilla until blended.
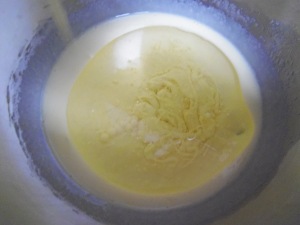
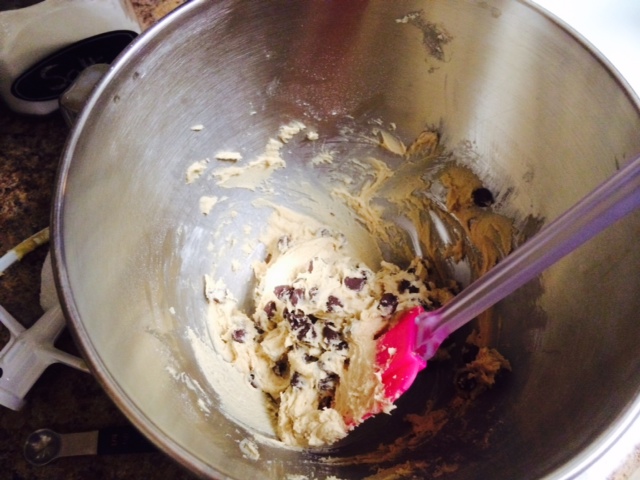
4. Add in the pineapple and sour cream and mix until fully incorporated.
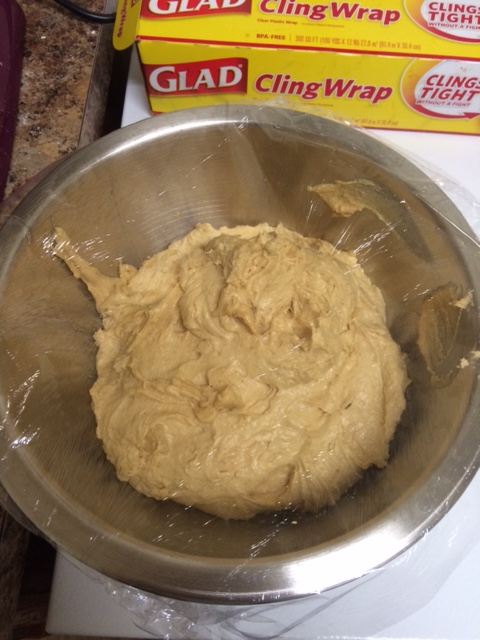
5. Add the flour mixture and blend until just combined and smooth.
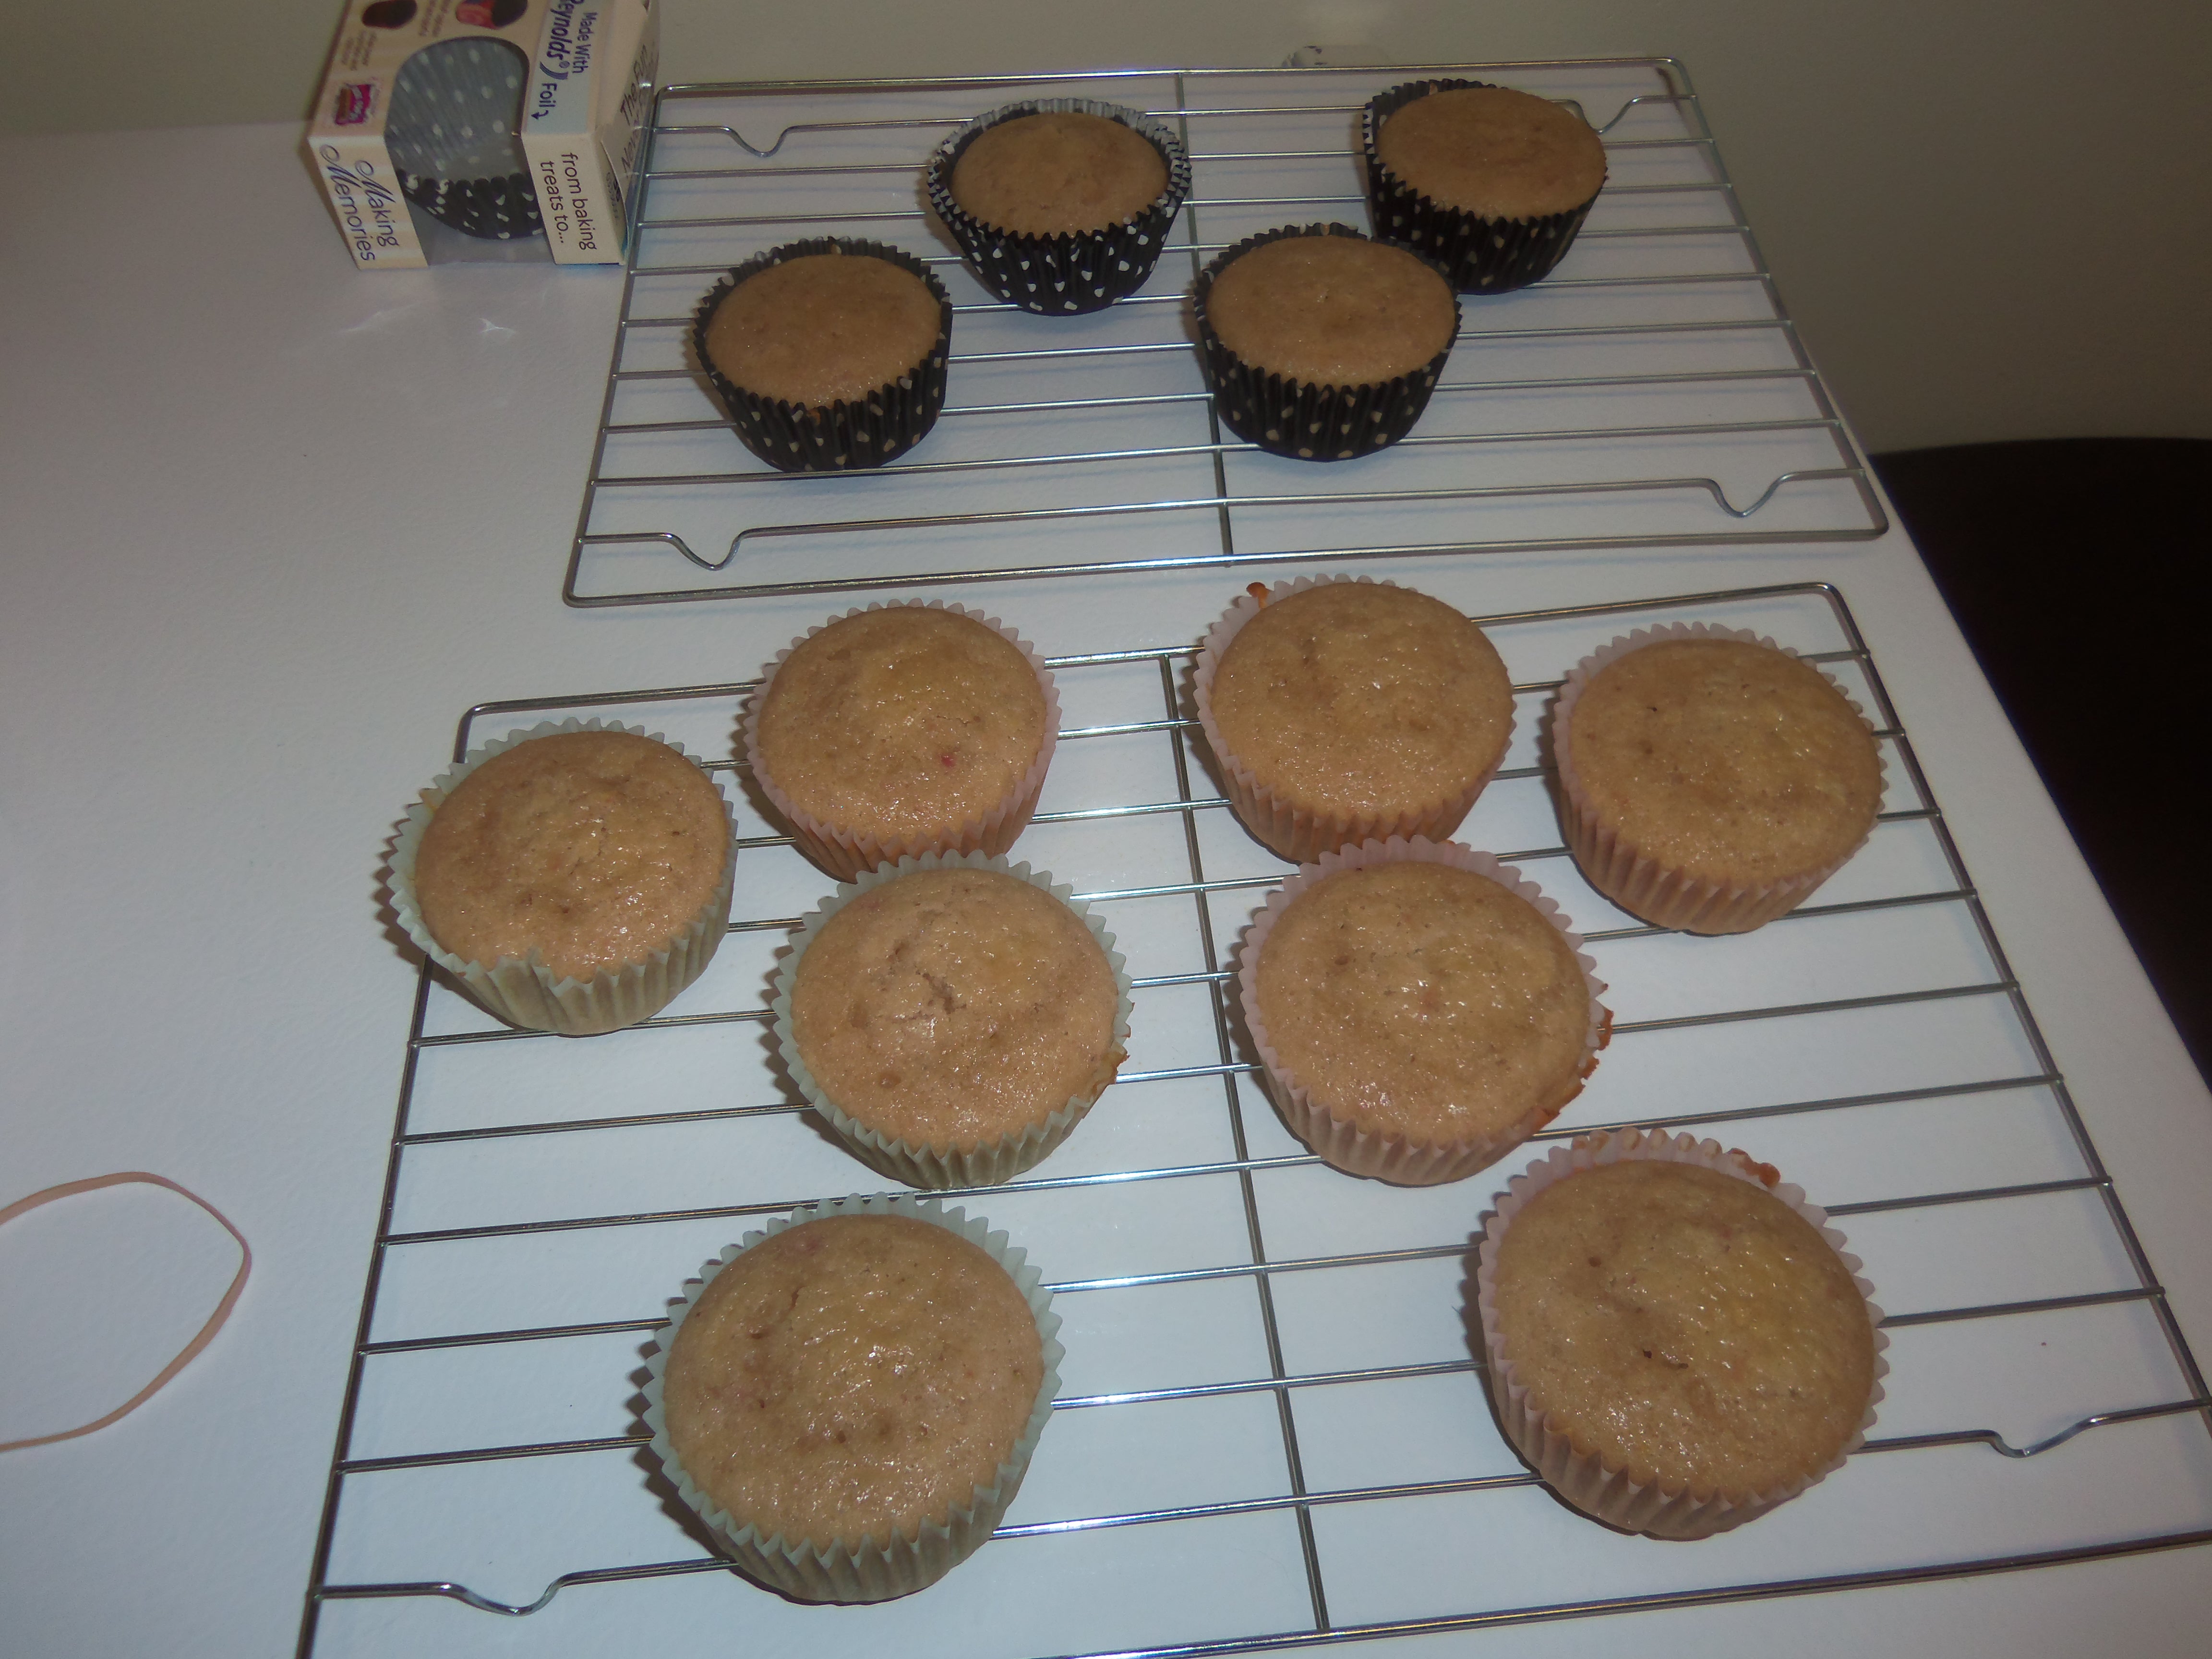
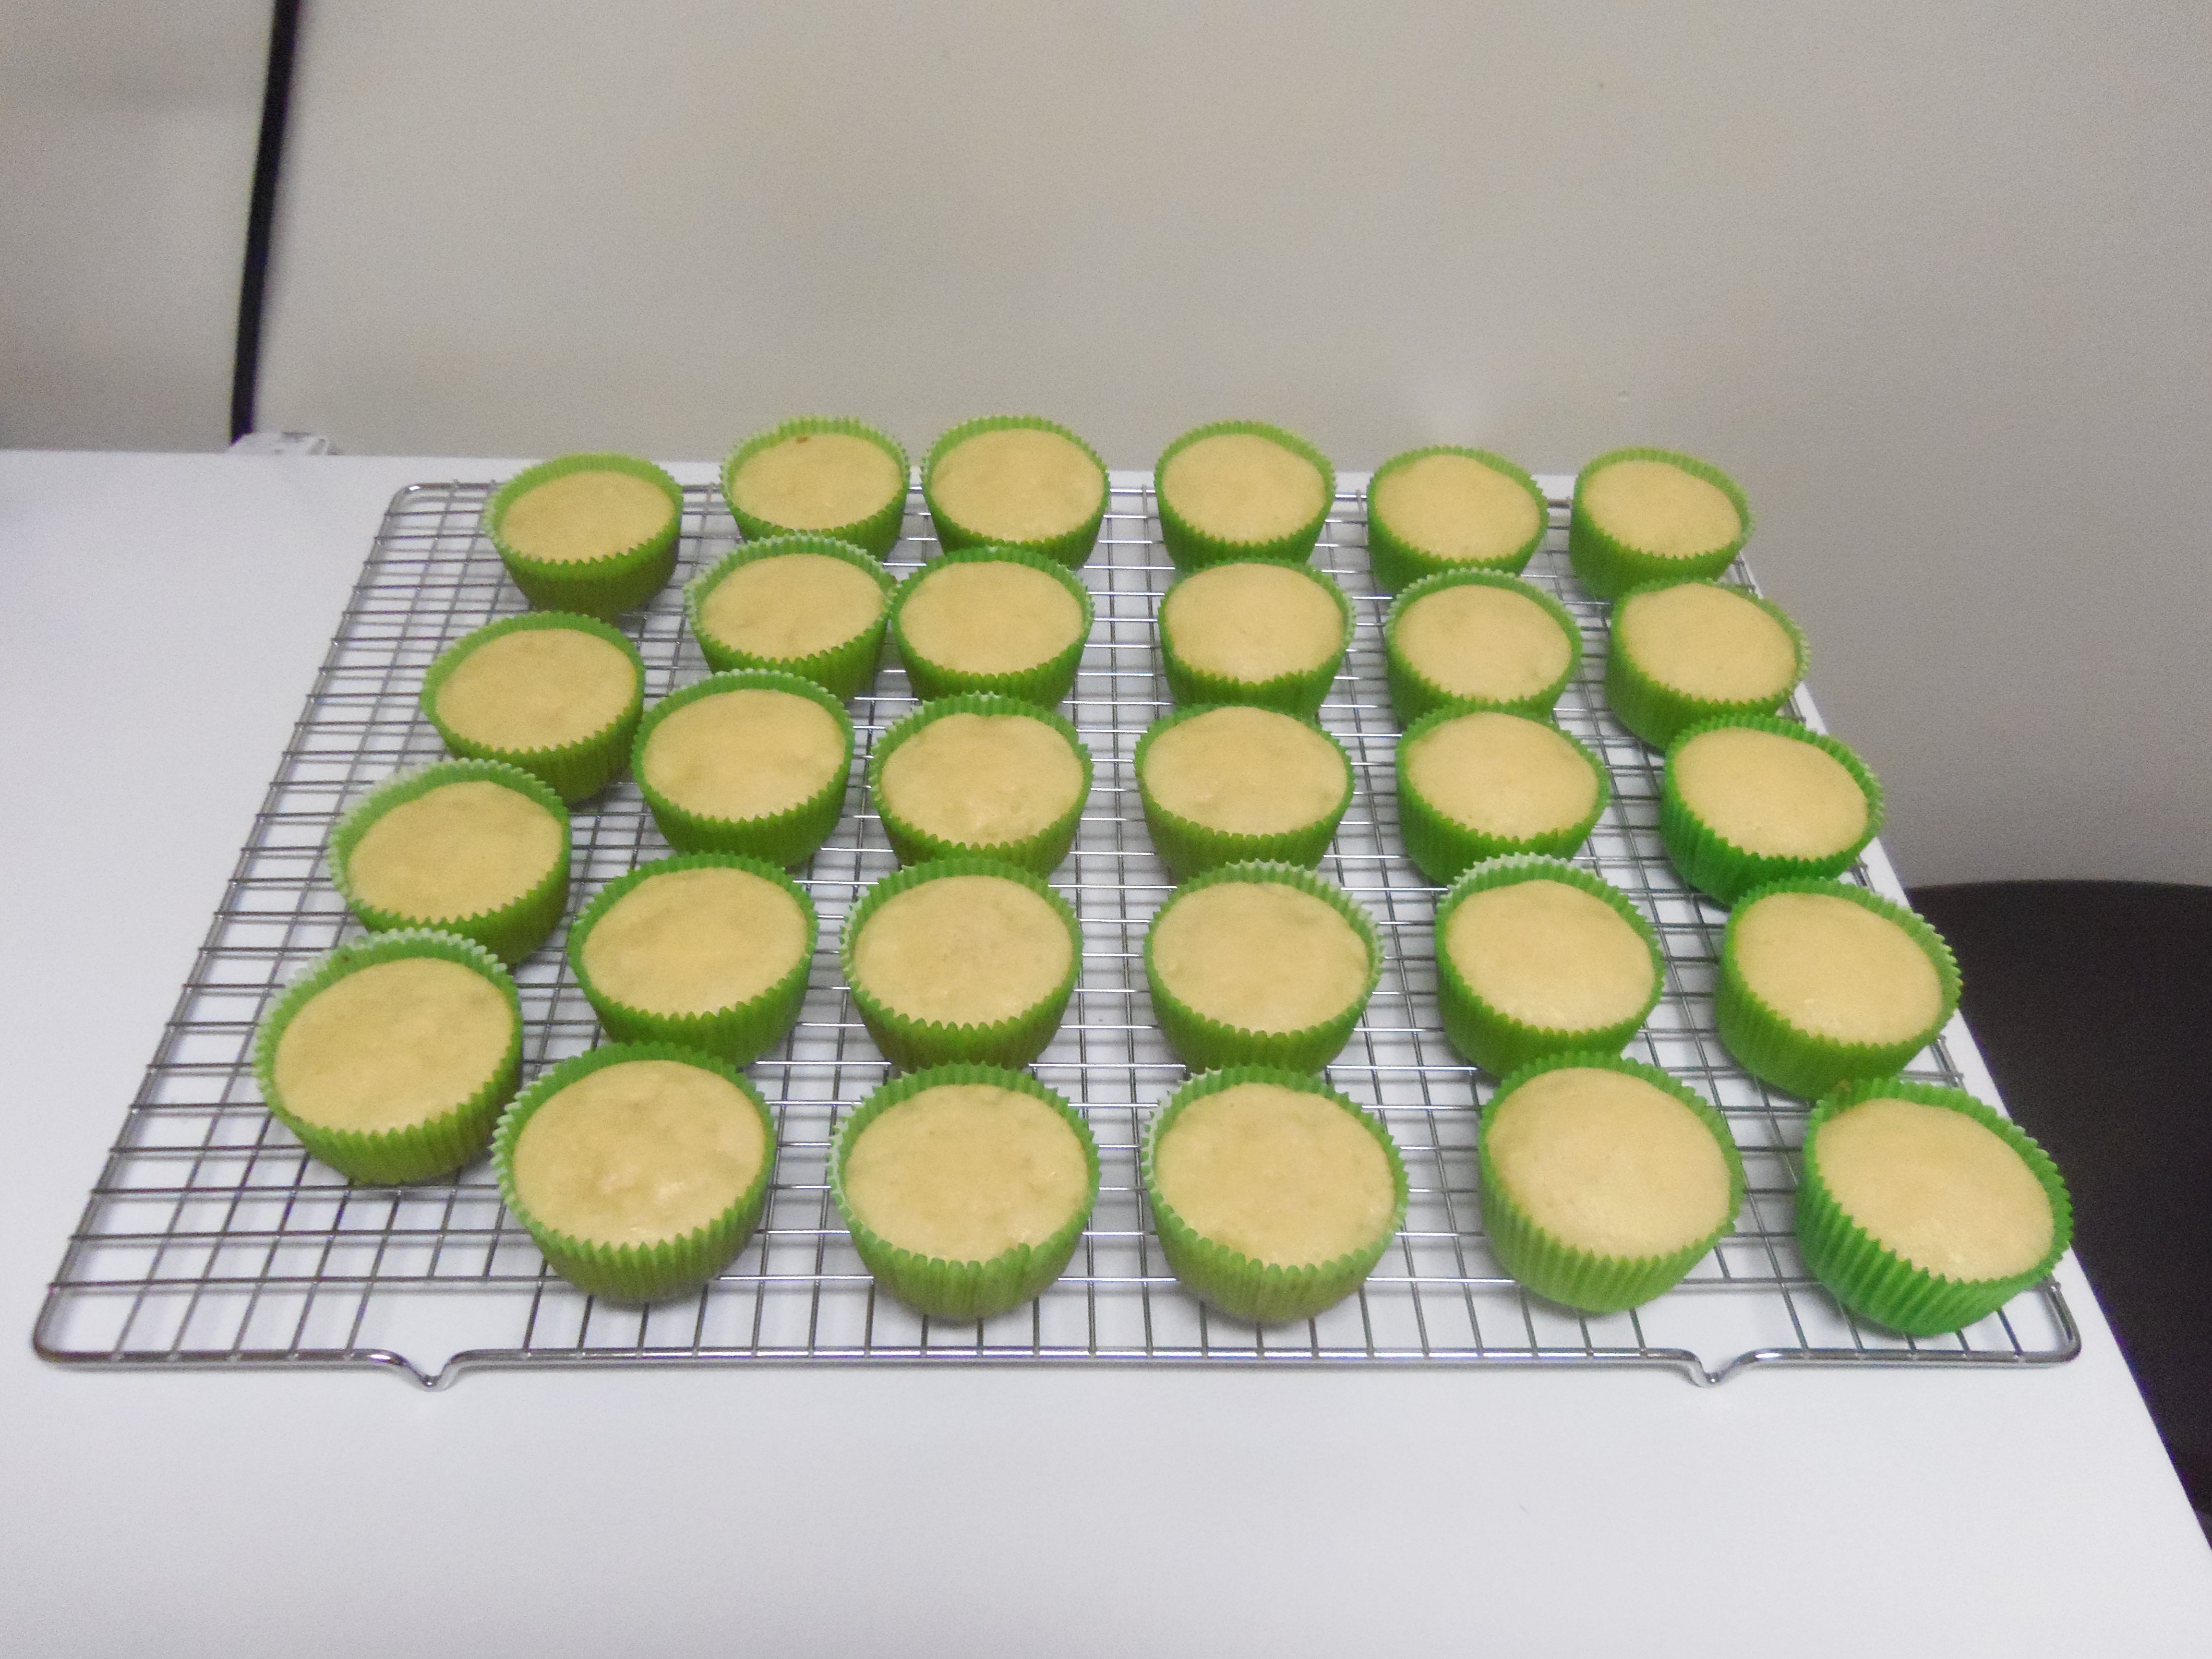
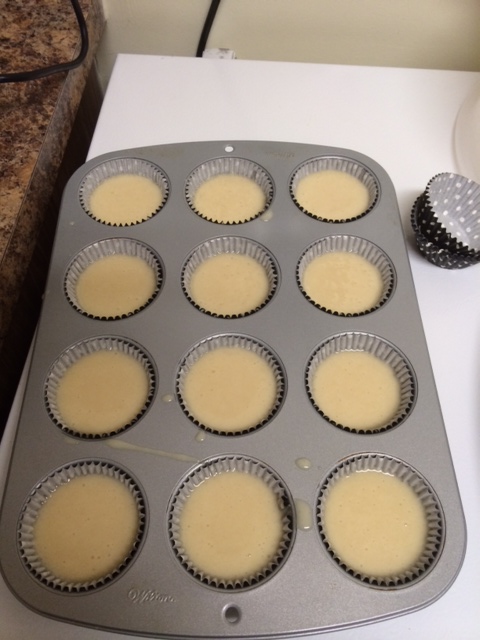
6. Line a cupcake pan with 12 paper liners and fill about 2/3 full.
7. Bake cupcakes in a pre-heated 350*F oven for about 22 minutes.
8. Remove from pan and cool on wire rack

For the frosting you will need:
½ cup (1 stick/8 Tablespoons) butter, at room temperature
8 oz. cream cheese, at room temperature
1/2 teaspoon vanilla extract (always use pure vanilla extract if possible)
1 1/2 teaspoons coconut extract (you may want to start with just 1 teaspoon of coconut extract, you can always add more, but you can’t take it out!)
4 cups powdered confectioners sugar
1 Tablespoon heavy cream, heavy whipping cream or milk
-or-
1 Tablespoon Dark Rum
*I used milk and the frosting was great
Directions:
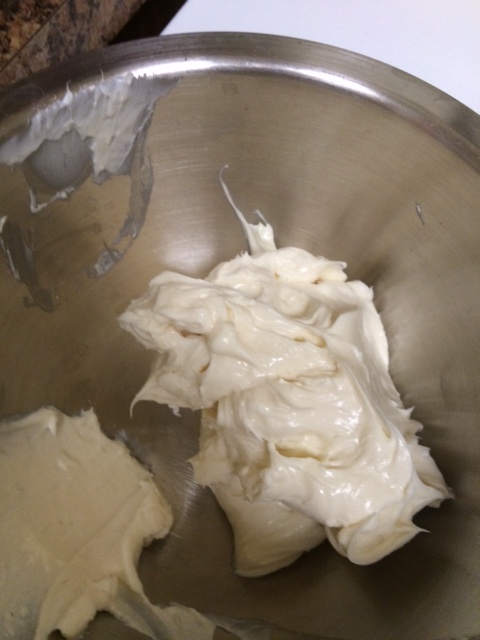
*Place butter in a large mixing bowl and blend until smooth. Add cream cheese and blend until well combined, about 30 seconds.
*Add vanilla extract, coconut extract and powdered sugar (1 cup at a time) and blend on low speed until combined. Increase to medium speed and beat until it begins to get fluffy.
*Slowly add the heavy cream or rum.
*Beat until fluffy, about 1 minute.
*Use at once or keep refrigerated. (This frosting will keep well in the refrigerator for several days, but you may need to re-beat it for the best texture.
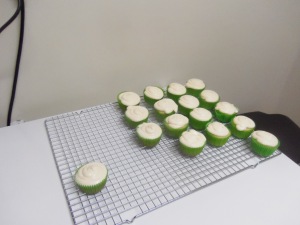
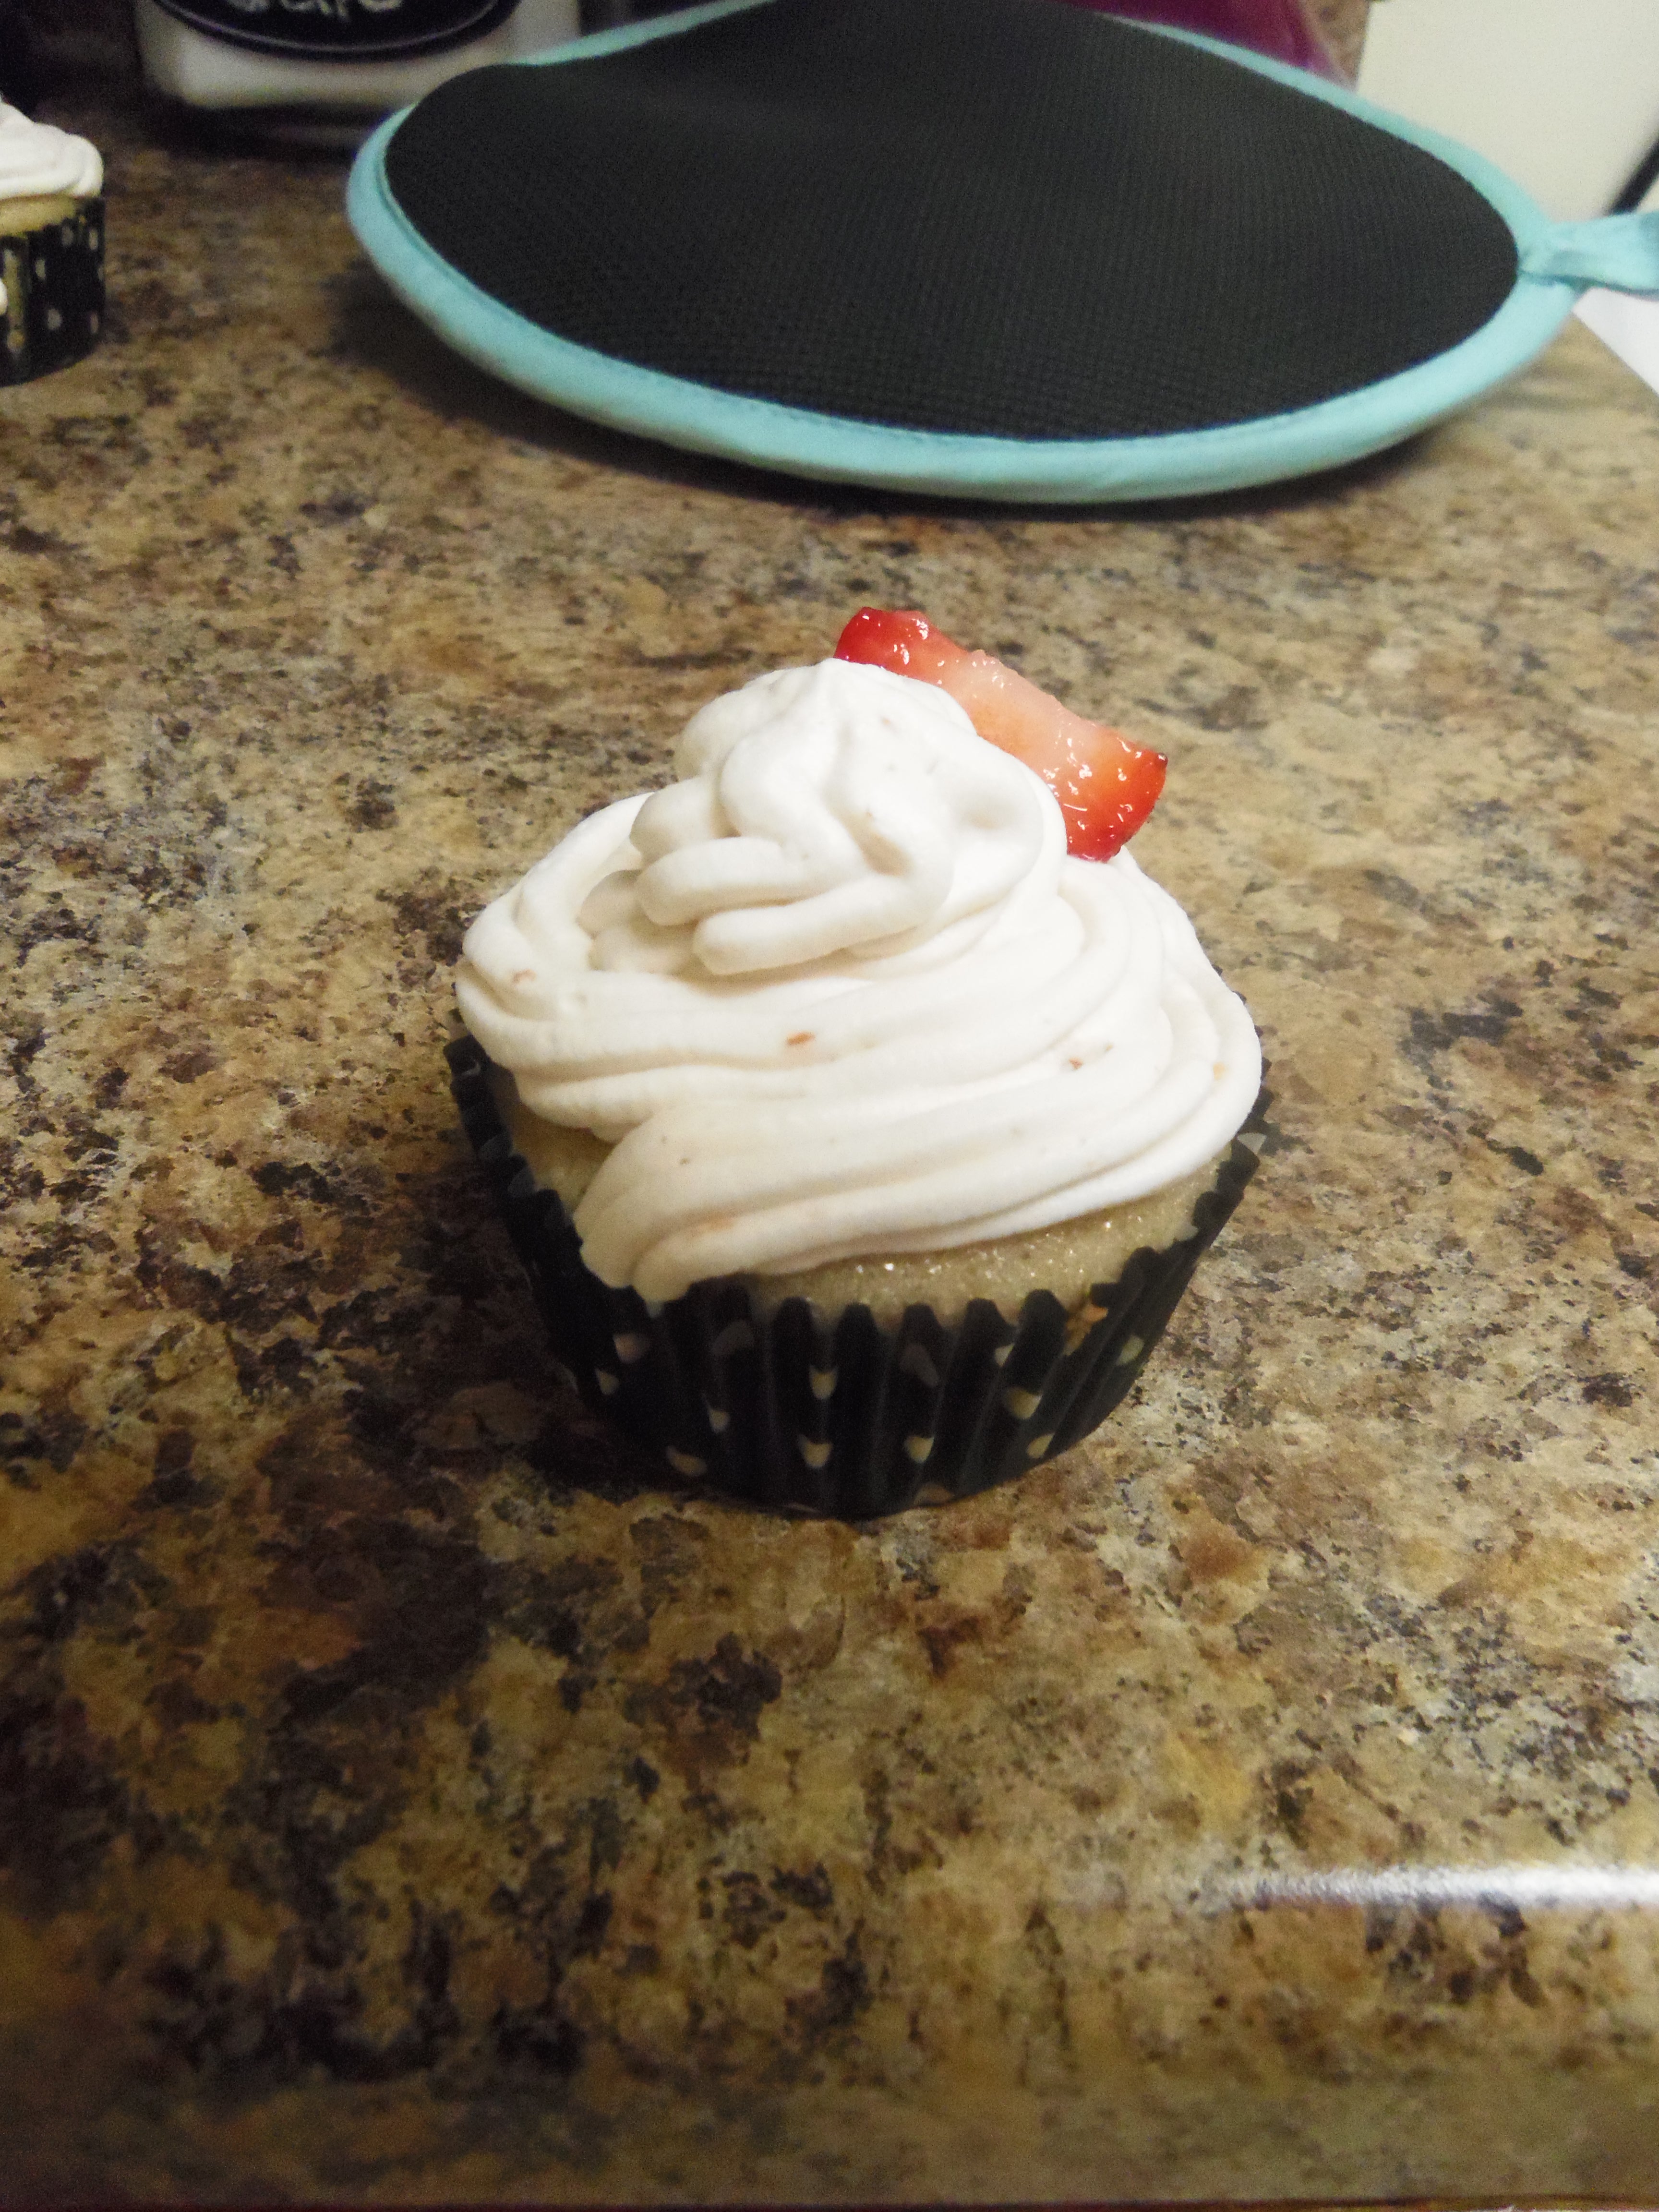
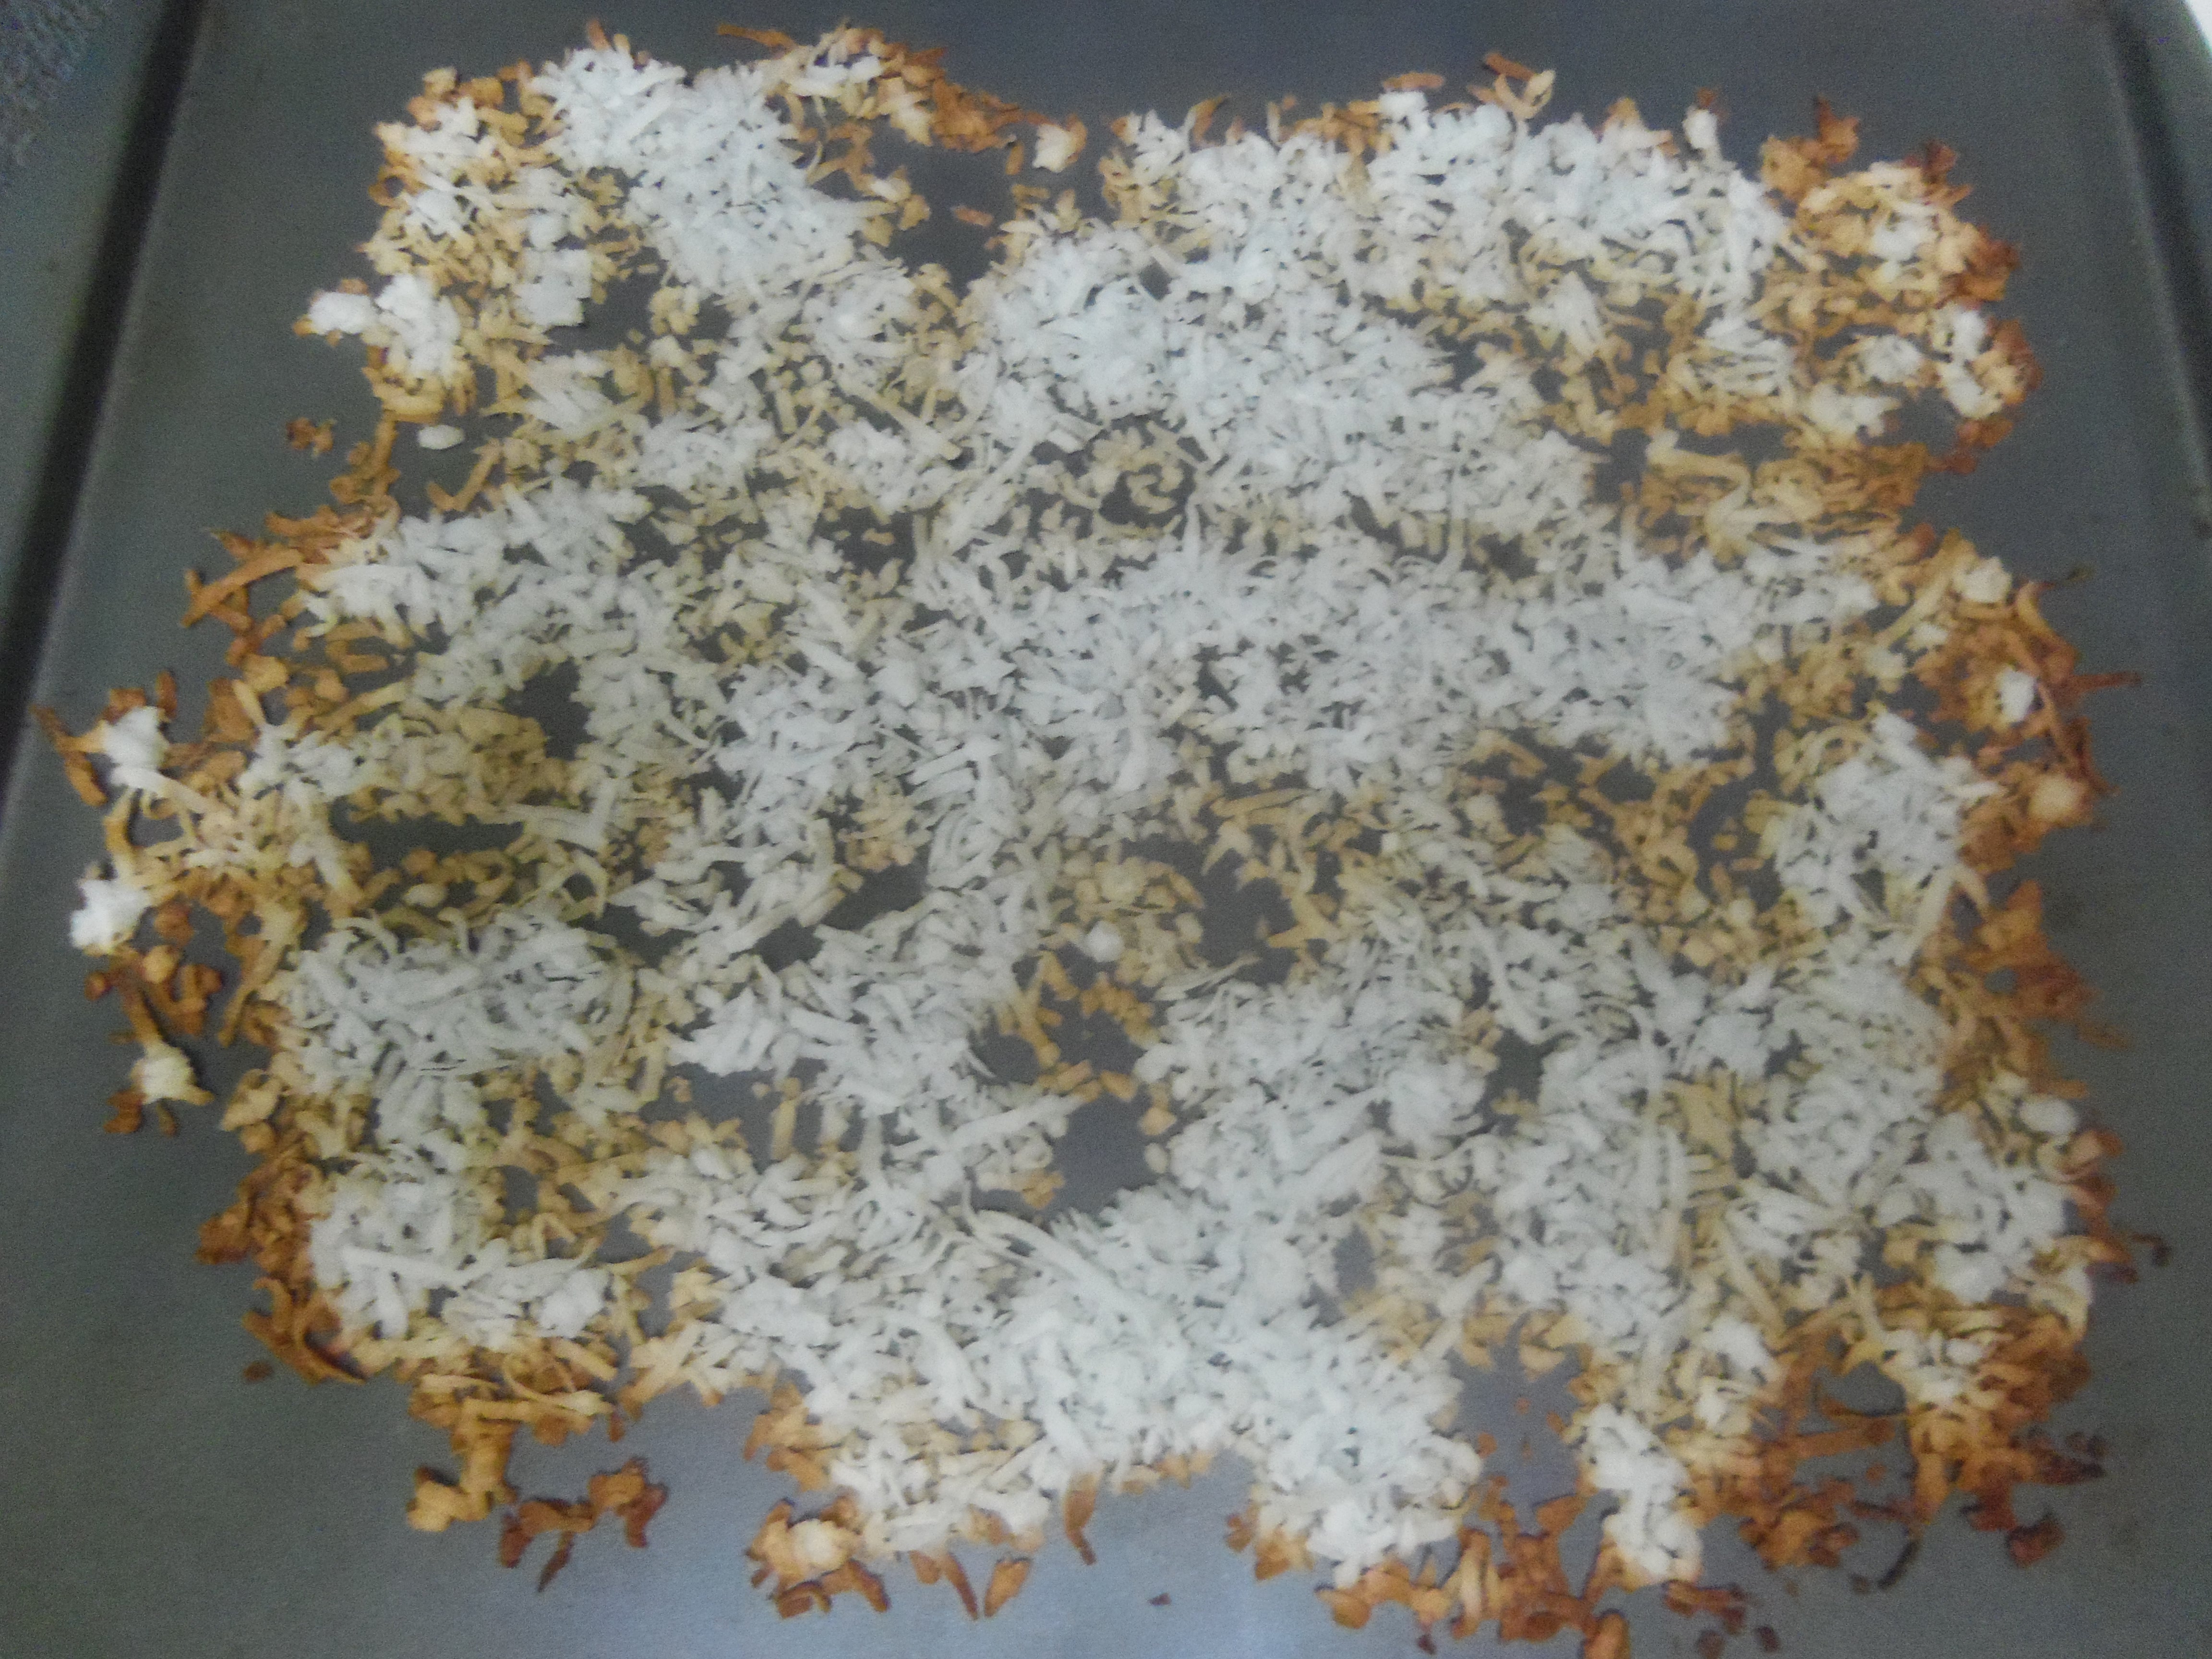
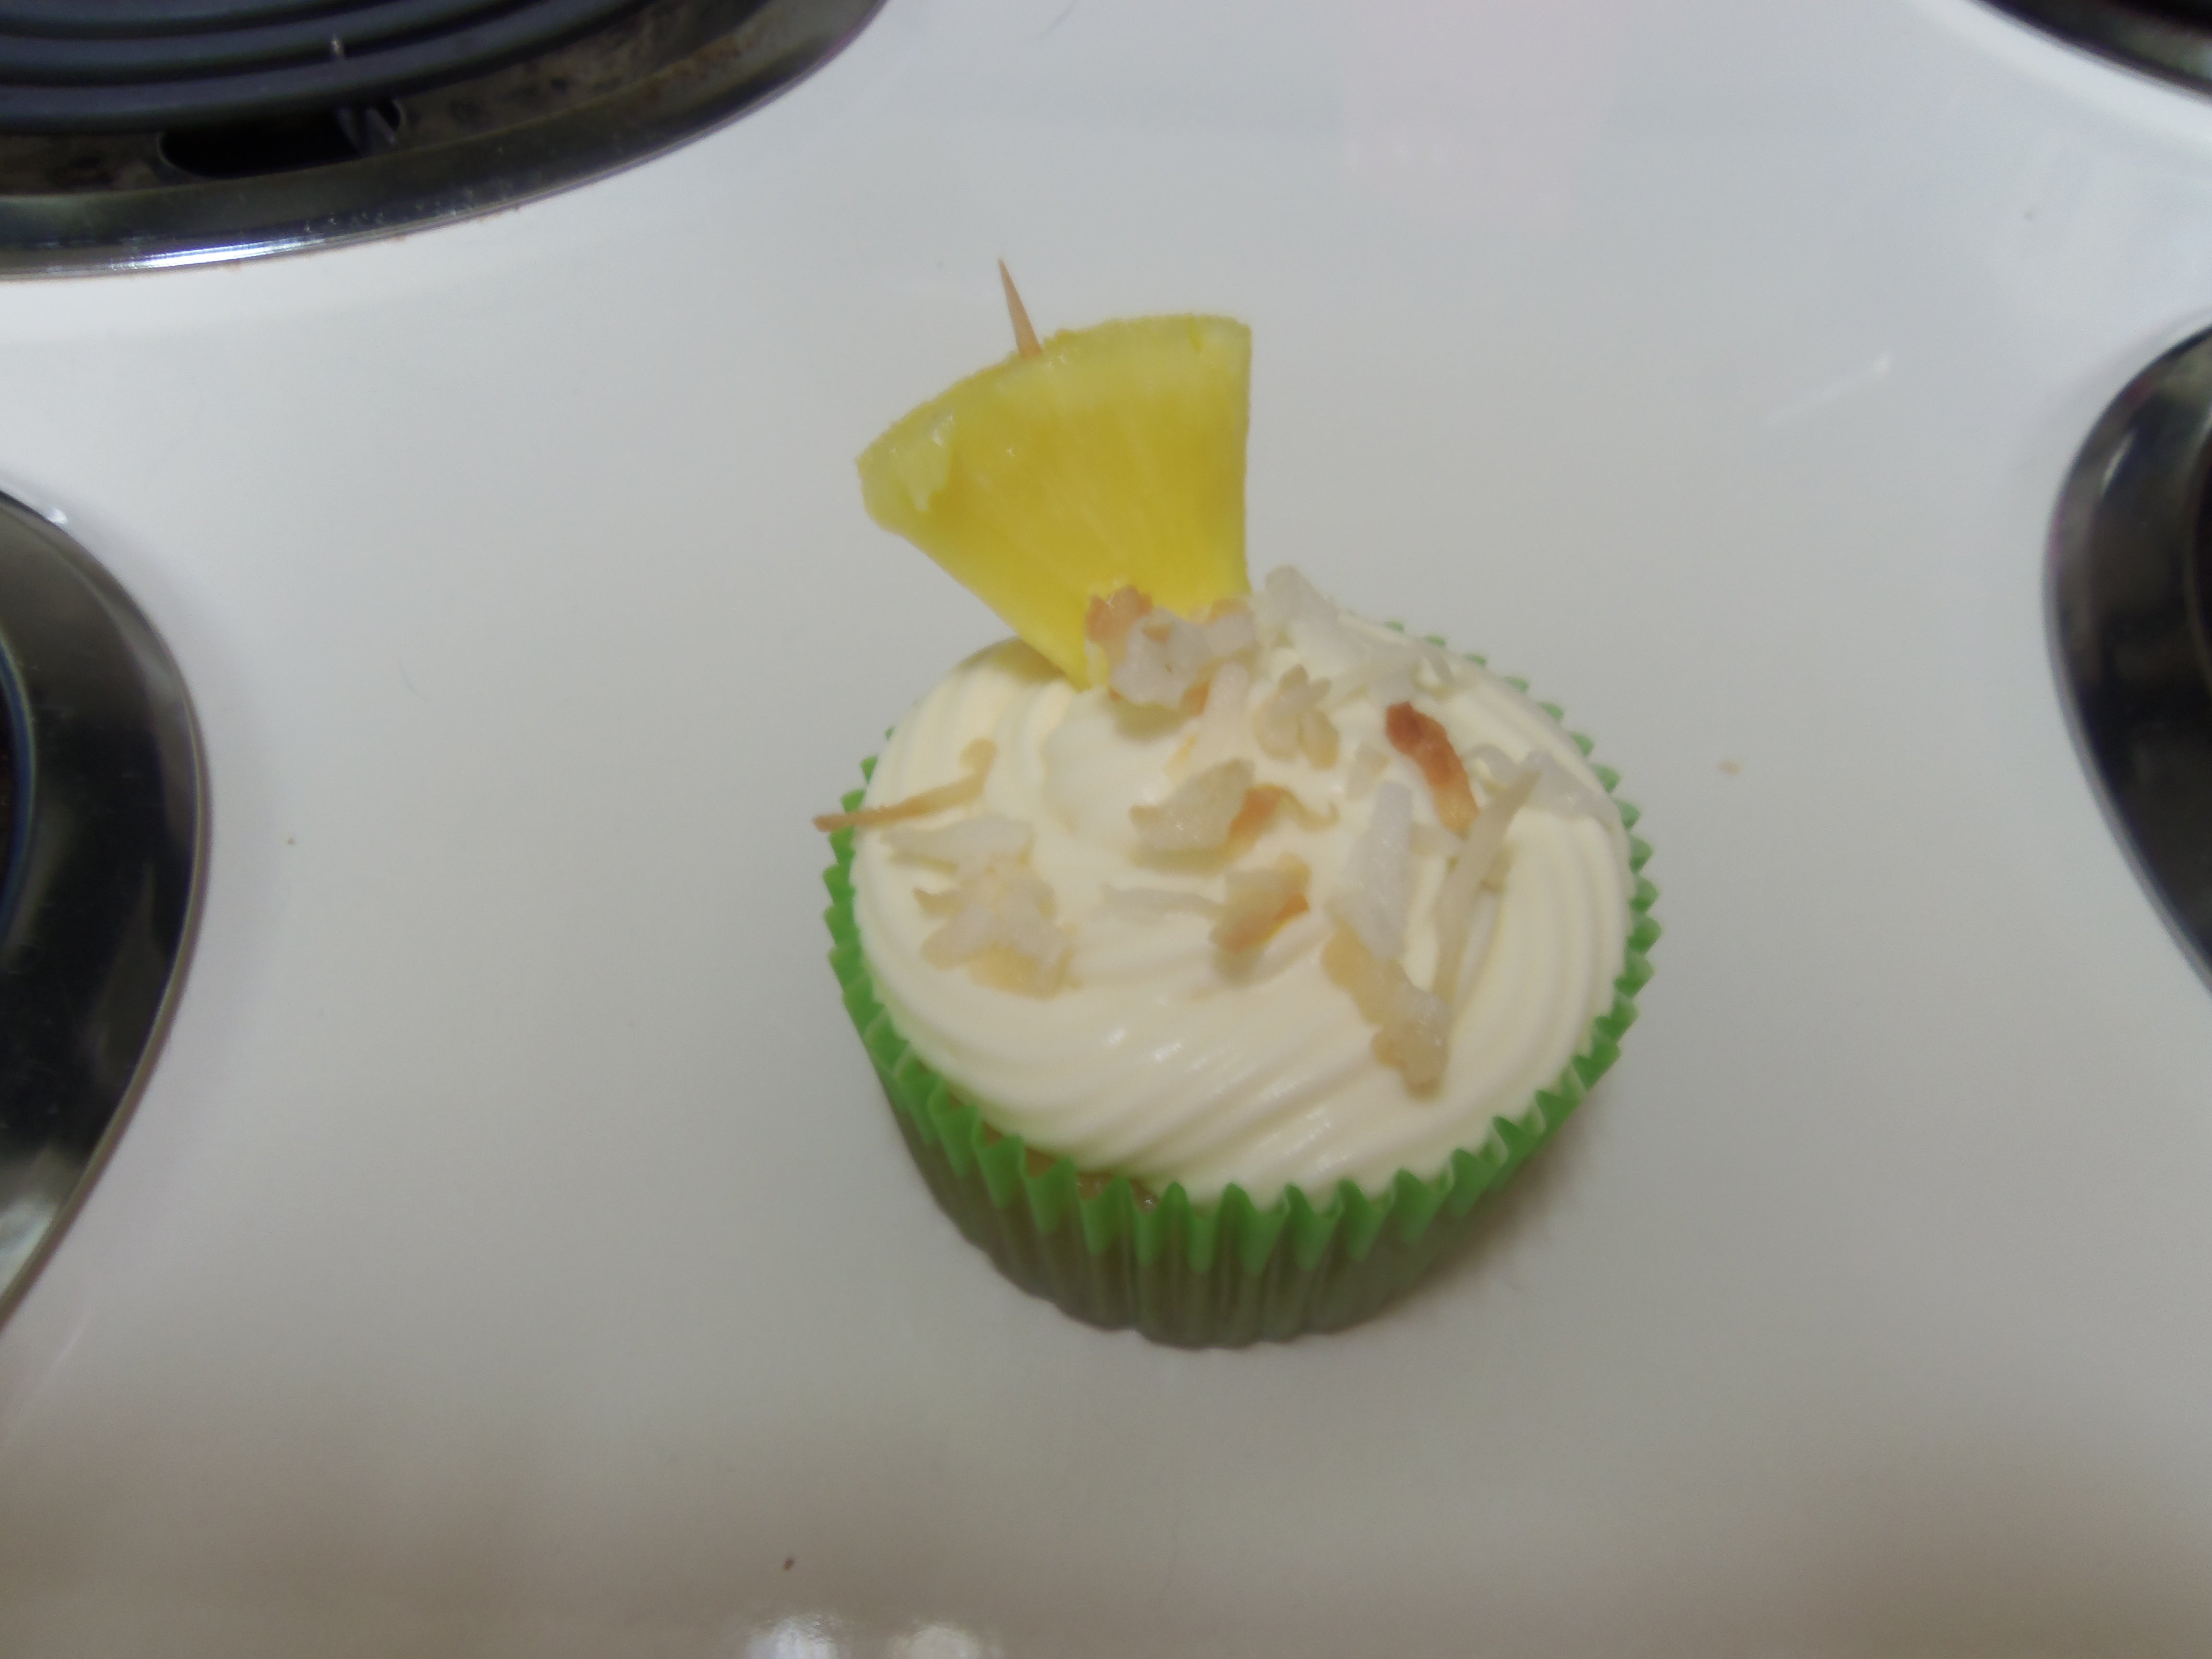
For decoration I decided to use toasted coconut flakes and a slice of pineapple.
To toast the coconut flakes I spread Sweetened Coconut Flakes on a cookie sheet and put into the oven at 375 degrees for 4 minutes. Some of the flakes came out a little too toasted, so next time I will lower the heat or put in for less time.

I sprinkled some coconut flakes onto each cupcake and then topped with a small slice of pineapple.
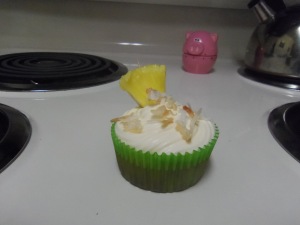

I have to say, these were very good. I also liked that my kitchen smelled of coconut for a few days. The cake comes out very moist and full of small pineapple chunks. These cupcakes were light and refreshing and something I would definitely make again.
Pineapple Cupcakes
2 1/2 cups flour
1 1/2 teaspoons baking powder
1/2 teaspoon baking soda
1/2 teaspoon salt
3 eggs
1 3/4 cups sugar
1 cup vegetable oil
1 teaspoon vanilla extract
3/4 cup sour cream
1 1/2 cups canned crushed pineapple (drained slightly)
Directions-
1. Mix flour, baking powder, baking soda and salt in a medium bowl and set aside.
2. In a large bowl, using an electric mixer on medium speed, beat the eggs and sugar until slightly thickened and a light cream color (about 2 minutes).
3. On low speed, mix in the oil and vanilla until blended.
4. Add in the pineapple and sour cream and mix until fully incorporated.
5. Add the flour mixture and blend until just combined and smooth.
6. Line a cupcake pan with 12 paper liners and fill about 2/3 full.
7. Bake cupcakes in a pre-heated 350*F oven for about 22 minutes.
8. Remove from pan and cool on wire rack.
9. Frost with Coconut Cream Cheese Frosting (recipe below)
Recipe yields 24-28 cupcakes.
Coconut Cream Cheese Frosting
(this is just a slight variation on my Cream Cheese Frosting recipe, but I’ll add it to this page as well, so it’s easy to find)
½ cup (1 stick/8 Tablespoons) butter, at room temperature
8 oz. cream cheese, at room temperature
1/2 teaspoon vanilla extract (always use pure vanilla extract if possible)
1 1/2 teaspoons coconut extract (you may want to start with just 1 teaspoon of coconut extract, you can always add more, but you can’t take it out!)
4 cups powdered confectioners sugar
1 Tablespoon heavy cream, heavy whipping cream or milk
-or-
1 Tablespoon Dark Rum
Directions:
*Place butter in a large mixing bowl and blend until smooth. Add cream cheese and blend until well combined, about 30 seconds.
*Add vanilla extract, coconut extract and powdered sugar (1 cup at a time) and blend on low speed until combined. Increase to medium speed and beat until it begins to get fluffy.
*Slowly add the heavy cream or rum.
*Beat until fluffy, about 1 minute.
*Use at once or keep refrigerated. (This frosting will keep well in the refrigerator for several days, but you may need to re-beat it for the best texture.)
For added flavor and texture, top frosted cupcakes with toasted coconut.
(To toast coconut- lay about 1 1/2 cups sweetened flaked coconut on a baking sheet and bake at 375*F about 4-5 minutes)
 I think these are the cutest liners! Thanks to Target!!!!
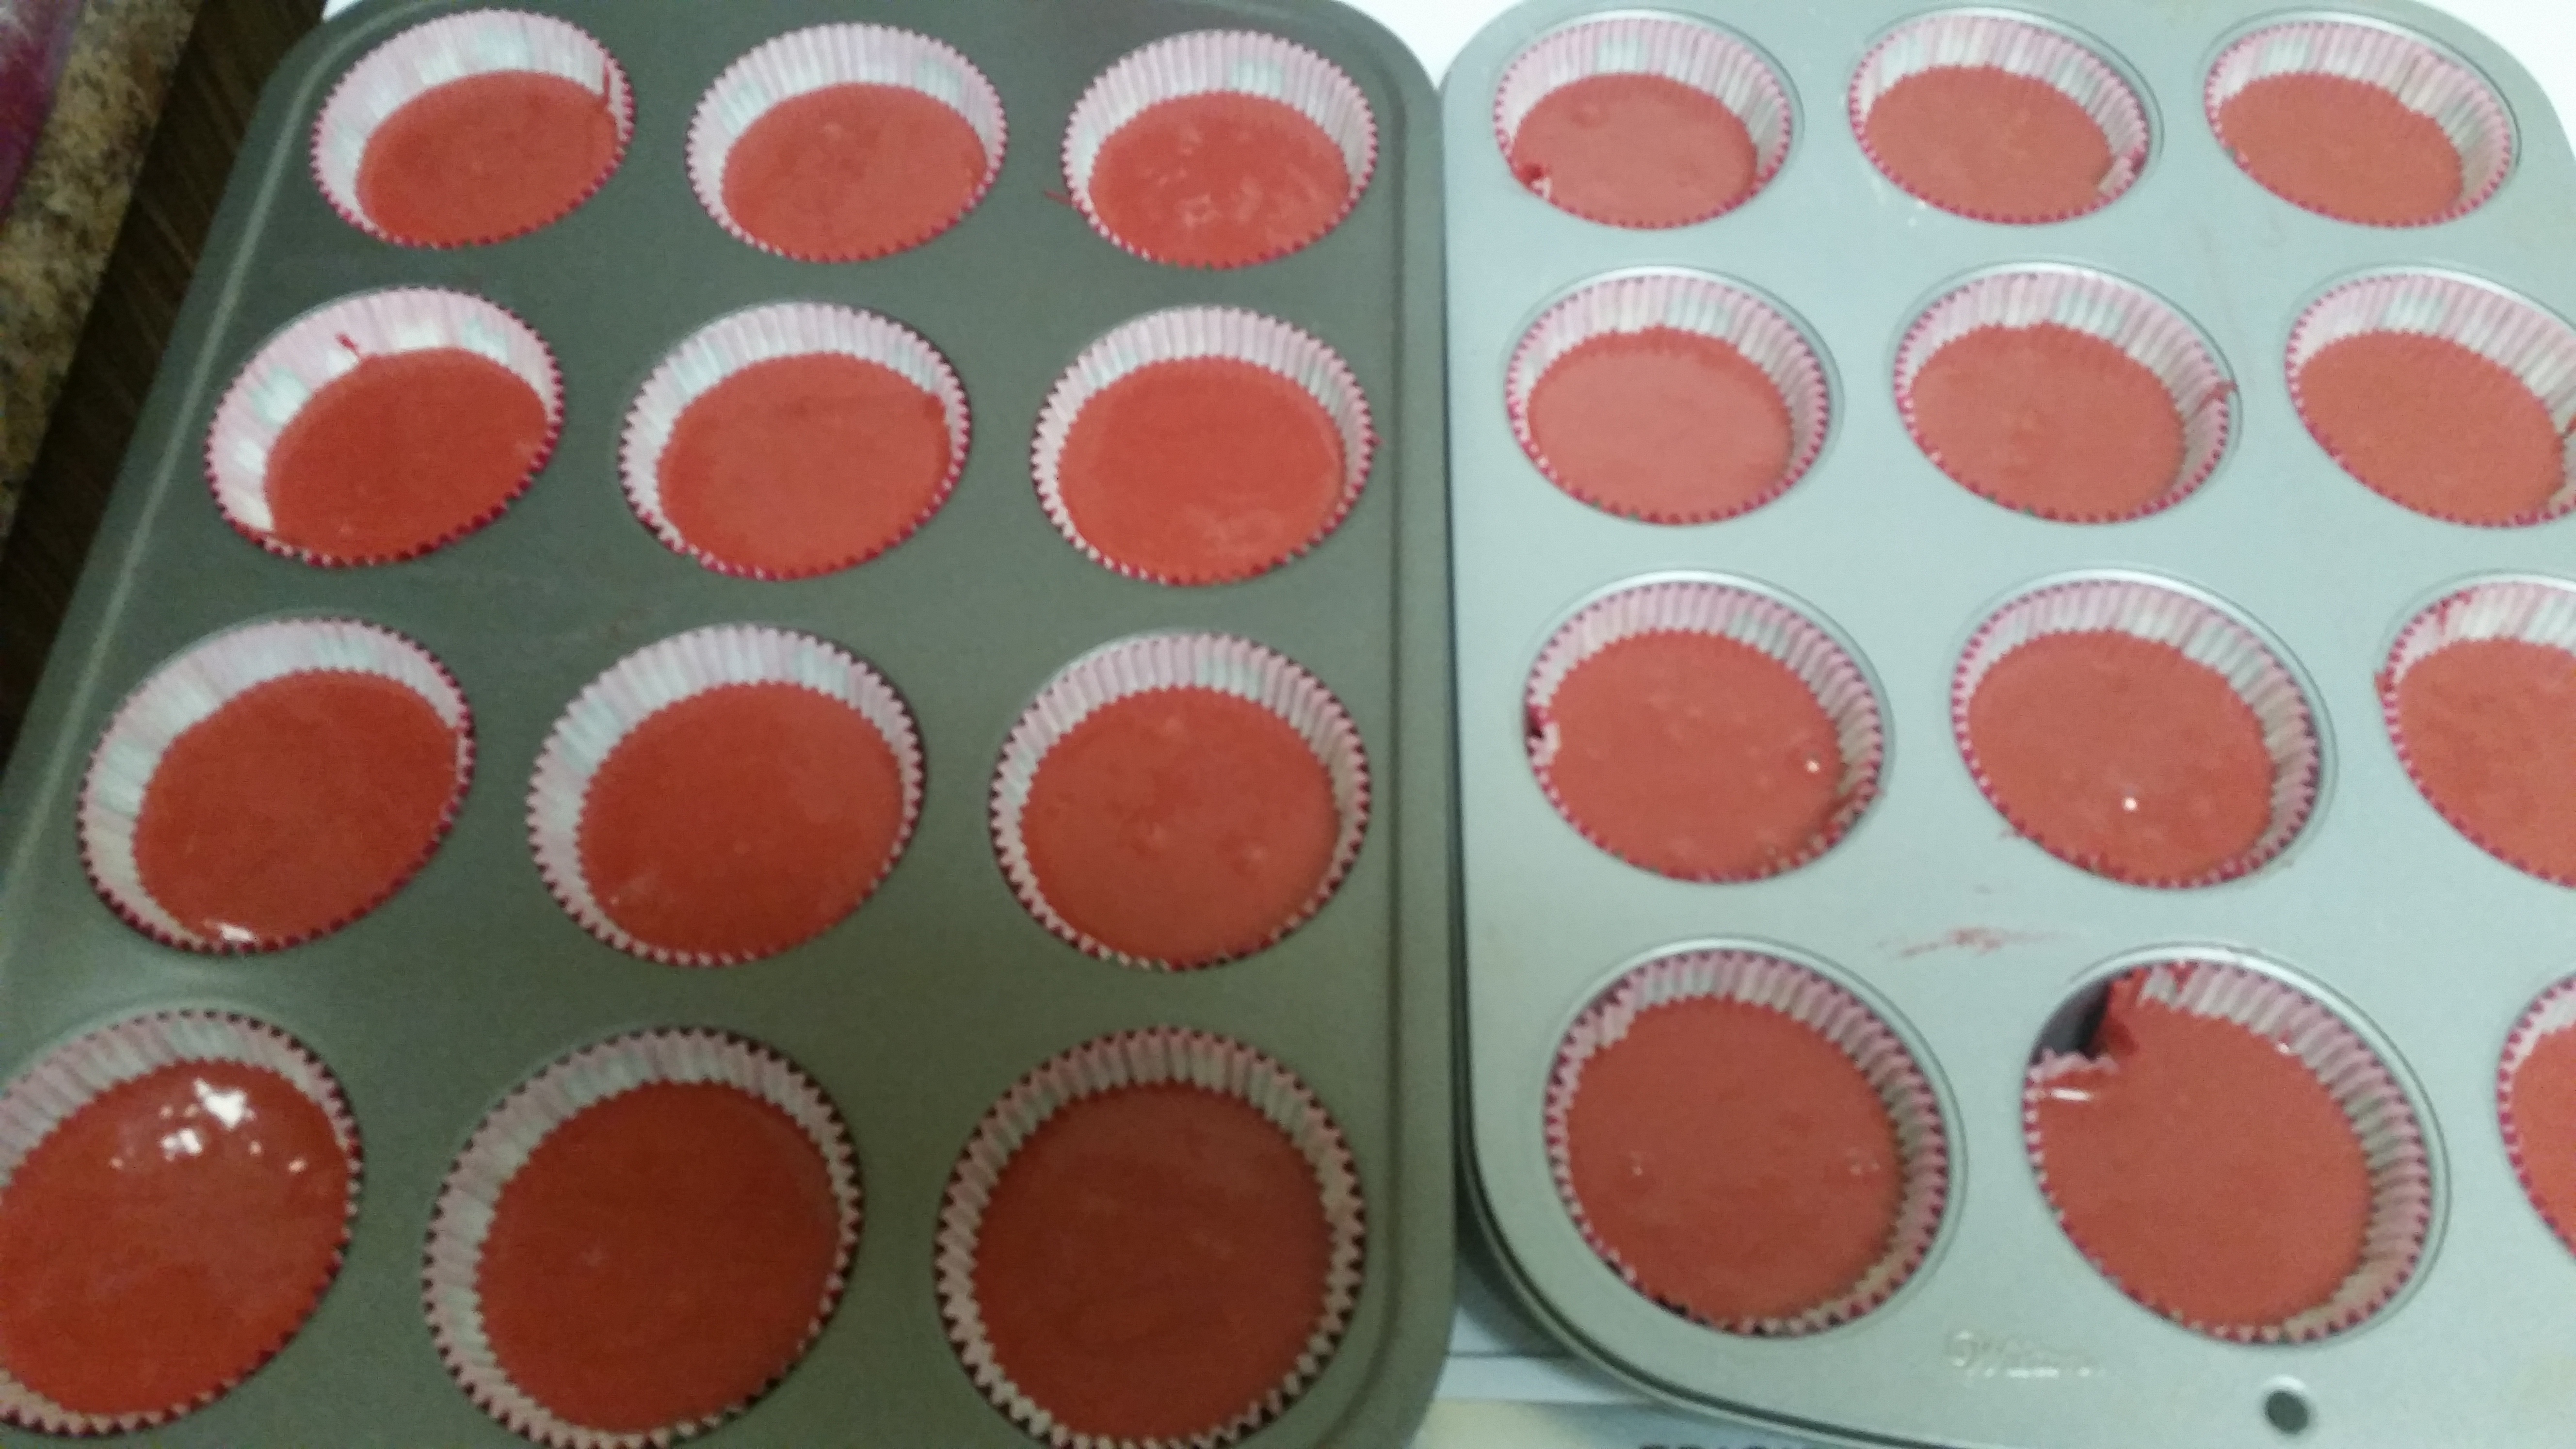 All ready for the oven.
 ALL DONE!
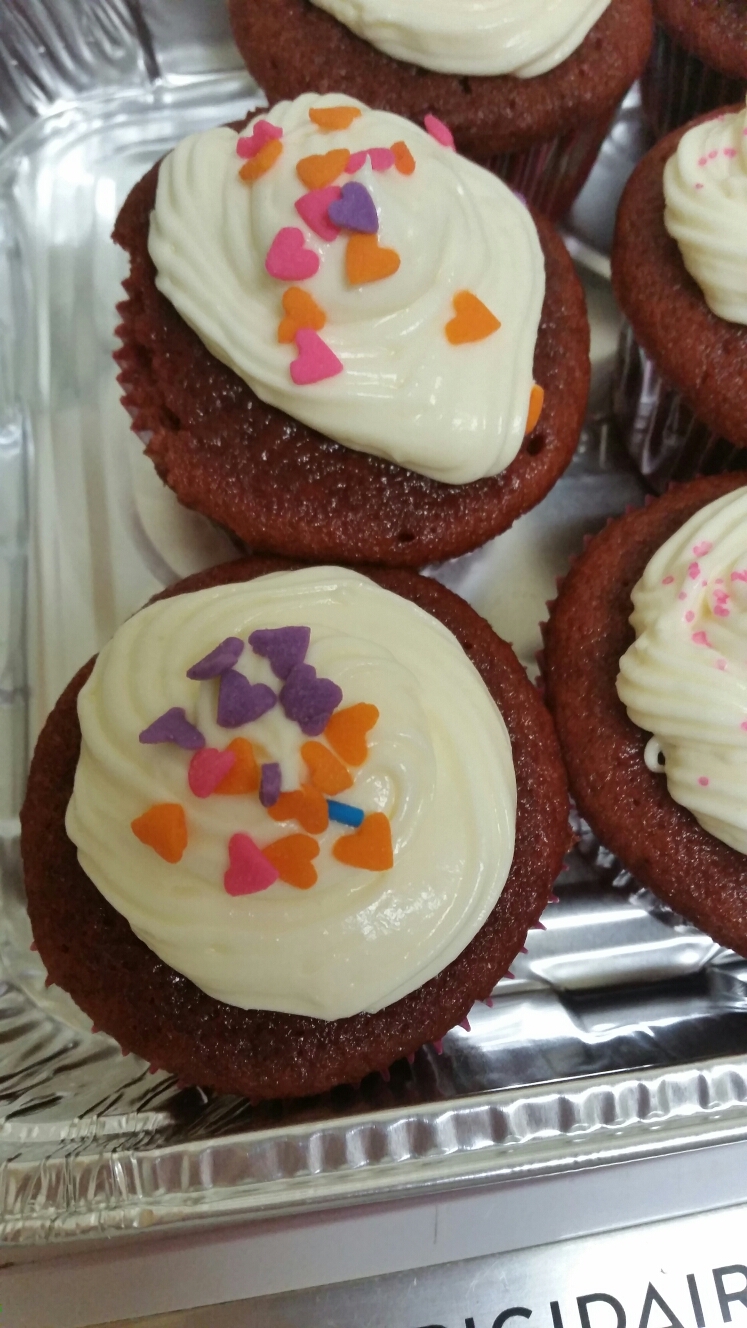
 I did some with pink sprinkles and some with hearts.